Storyboard with Pinterest
Creating a storyboard on Pinterest can be beneficial to keeping your focus, staying motivated, keeping your ideas at the forefront of your mind, and create an aesthetically pleasing visual.
What is Storyboarding?
Story boarding is the creation of a visual representation of how a story will play out, scene by scene. It is a chronological sequence of images created by the author to lay out the plot, characters, subplots and more. Each accompanying a description or summary of the plots most relevant details.
Why You Should Storyboard Your Novel
Storyboarding provides a visual outline of your story. Not only do you have visuals to inspire and refer to, you also have descriptions of each piece to keep you on track and refer to your descriptions as notes and information. Keep on track, “see” where you need to get to within the story, and all the plot points along the way.
This method of visual planning can be tremendously helpful for the creative process. Providing one of the best ways to bring your story to life in front of your eyes, it creates an organized, visual, and informative way to keep track of your story and all it’s parts.
Creating Your Storyboard on Pinterest (In Steps)
It’s so much easier to create something when there are instructions included, right? Unfortunately, you do have to read them or at the very least skim them. Here are the steps for creating a Pinterest Storyboard for your novel!
Step One – Create Account/StoryBoard
If you haven’t created a Pinterest account, now is the time to do so. Since this is a relatively easy task and most will have already created an account, we’ll add this to the creation of a board. (Images will be with the website on the left, Mobil on the right where available)
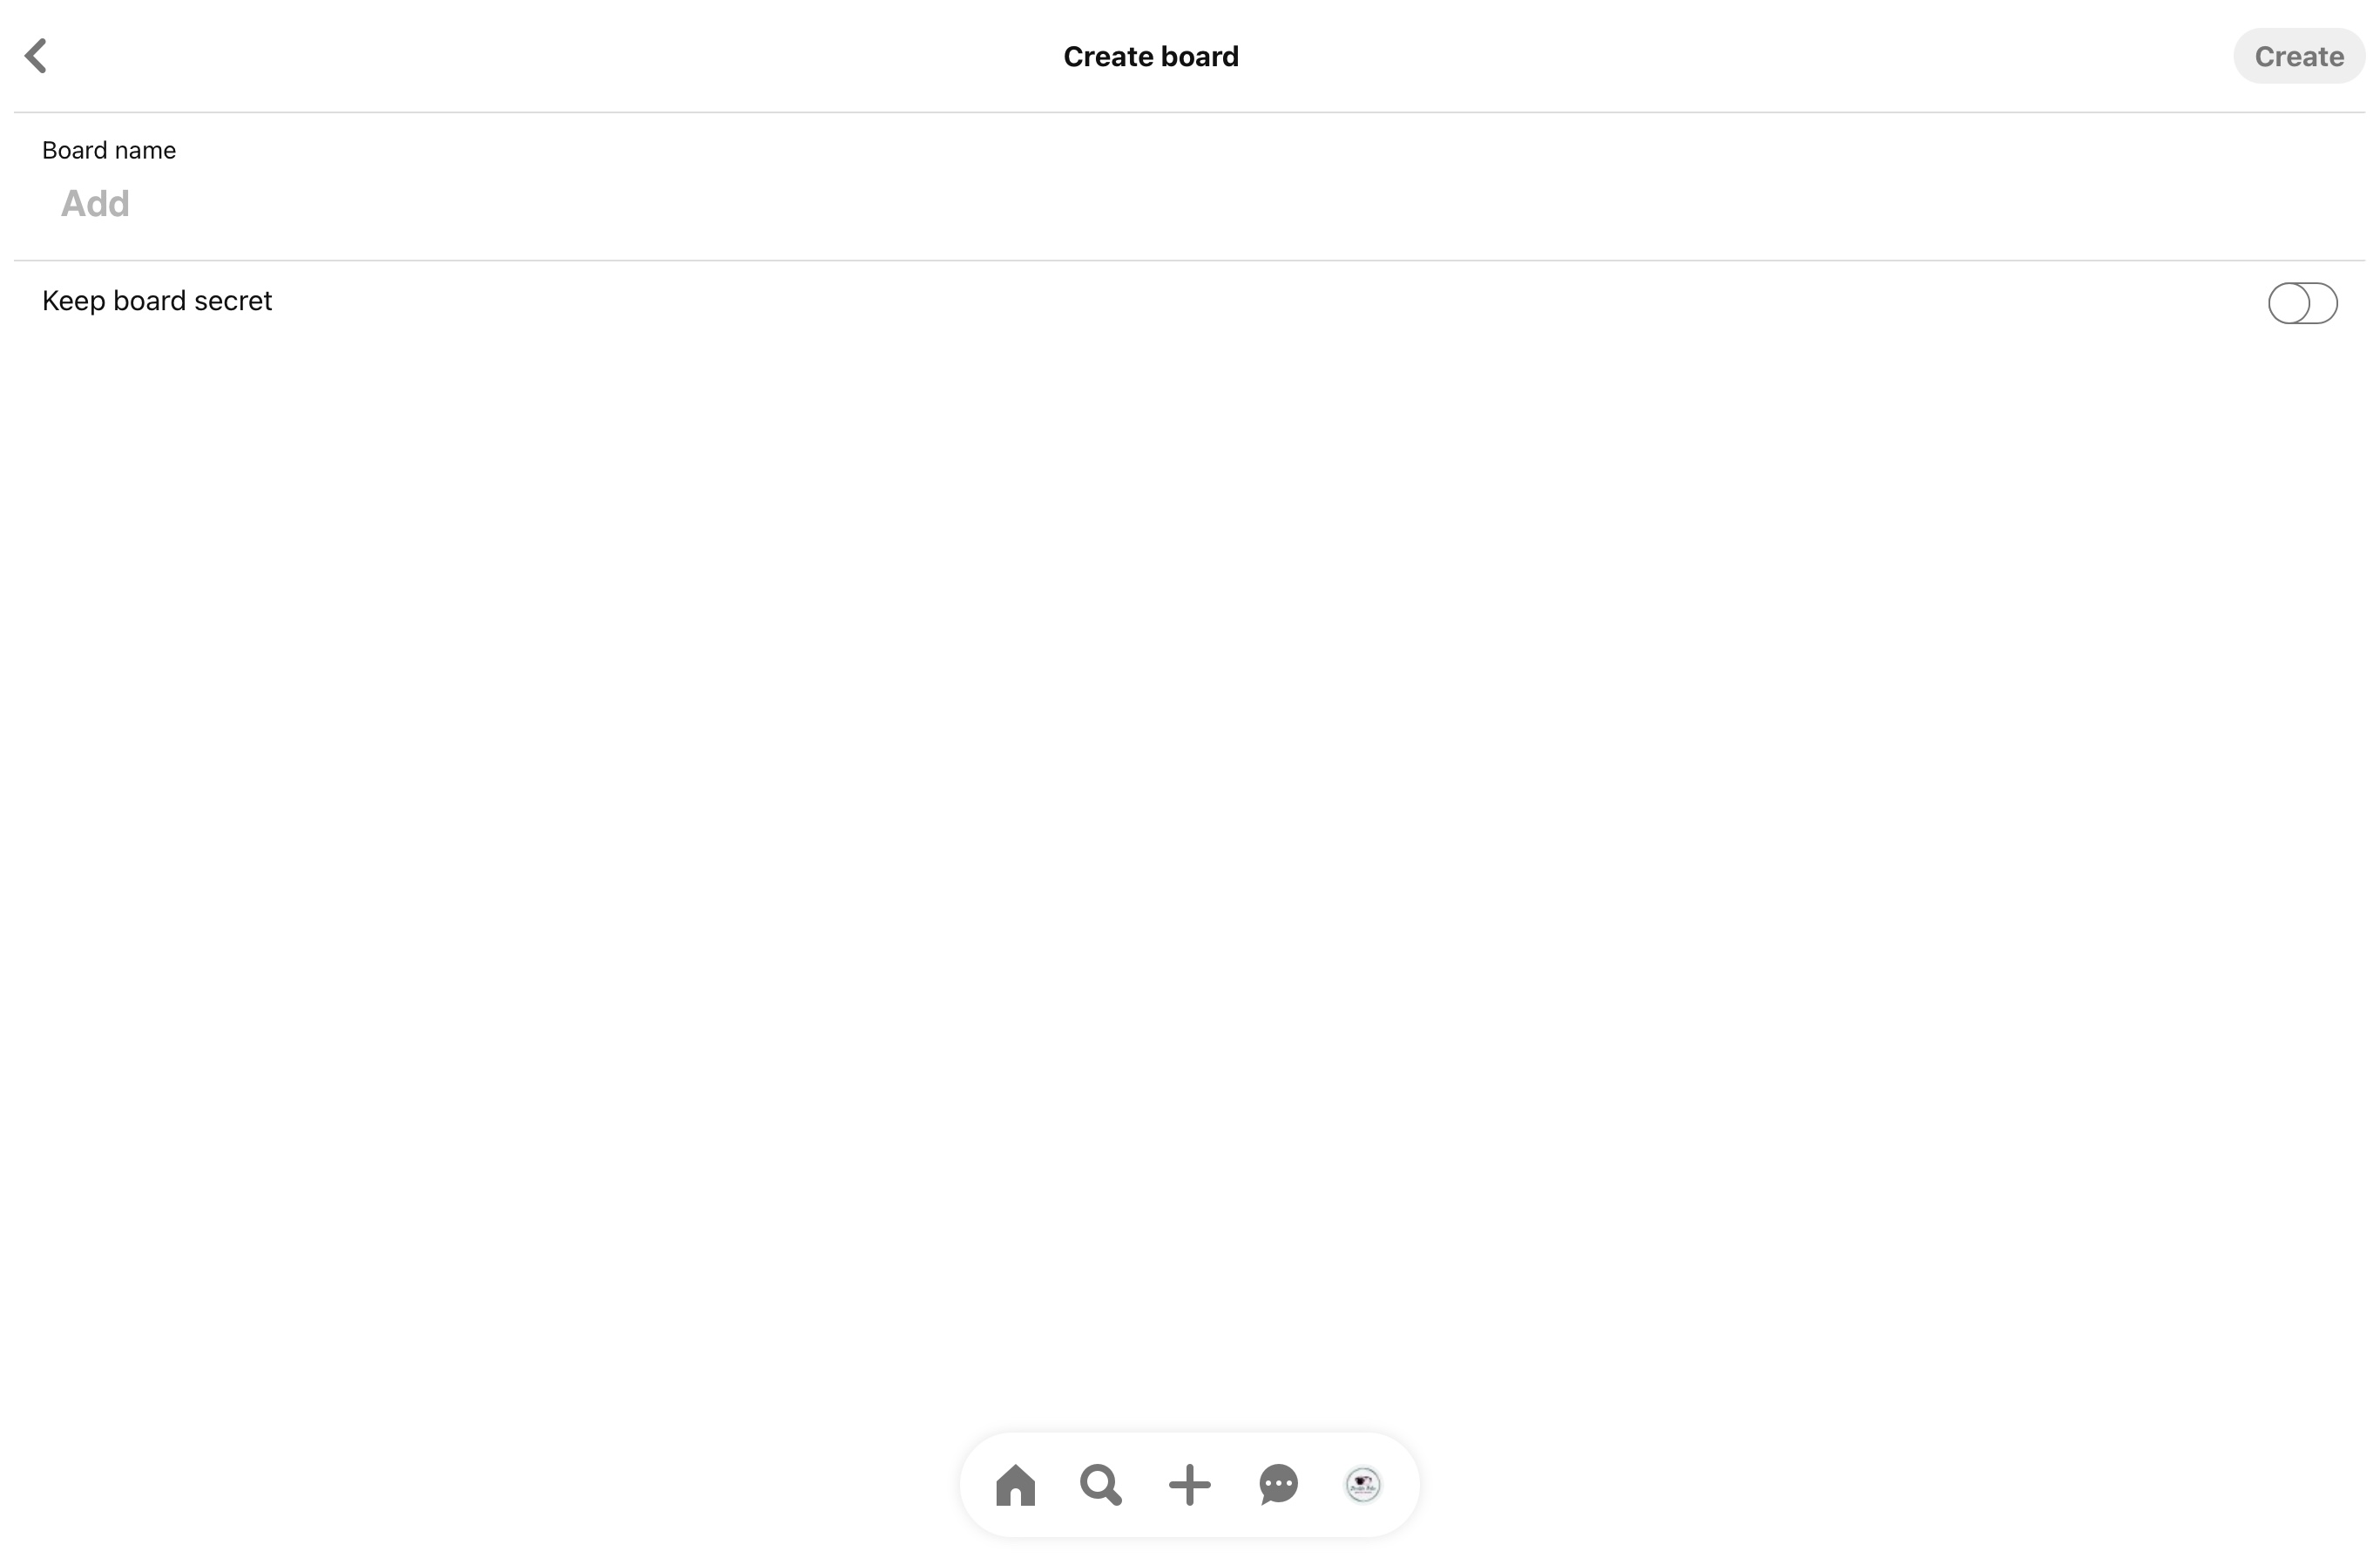
It’s quite similar to start a board on either the website or the app. Enter the name of the board and decide whether you would like to keep it secret or not, then press/click create in the upper right.
Step Two – Add Board Details
Once the board is created you will see a screen like this:
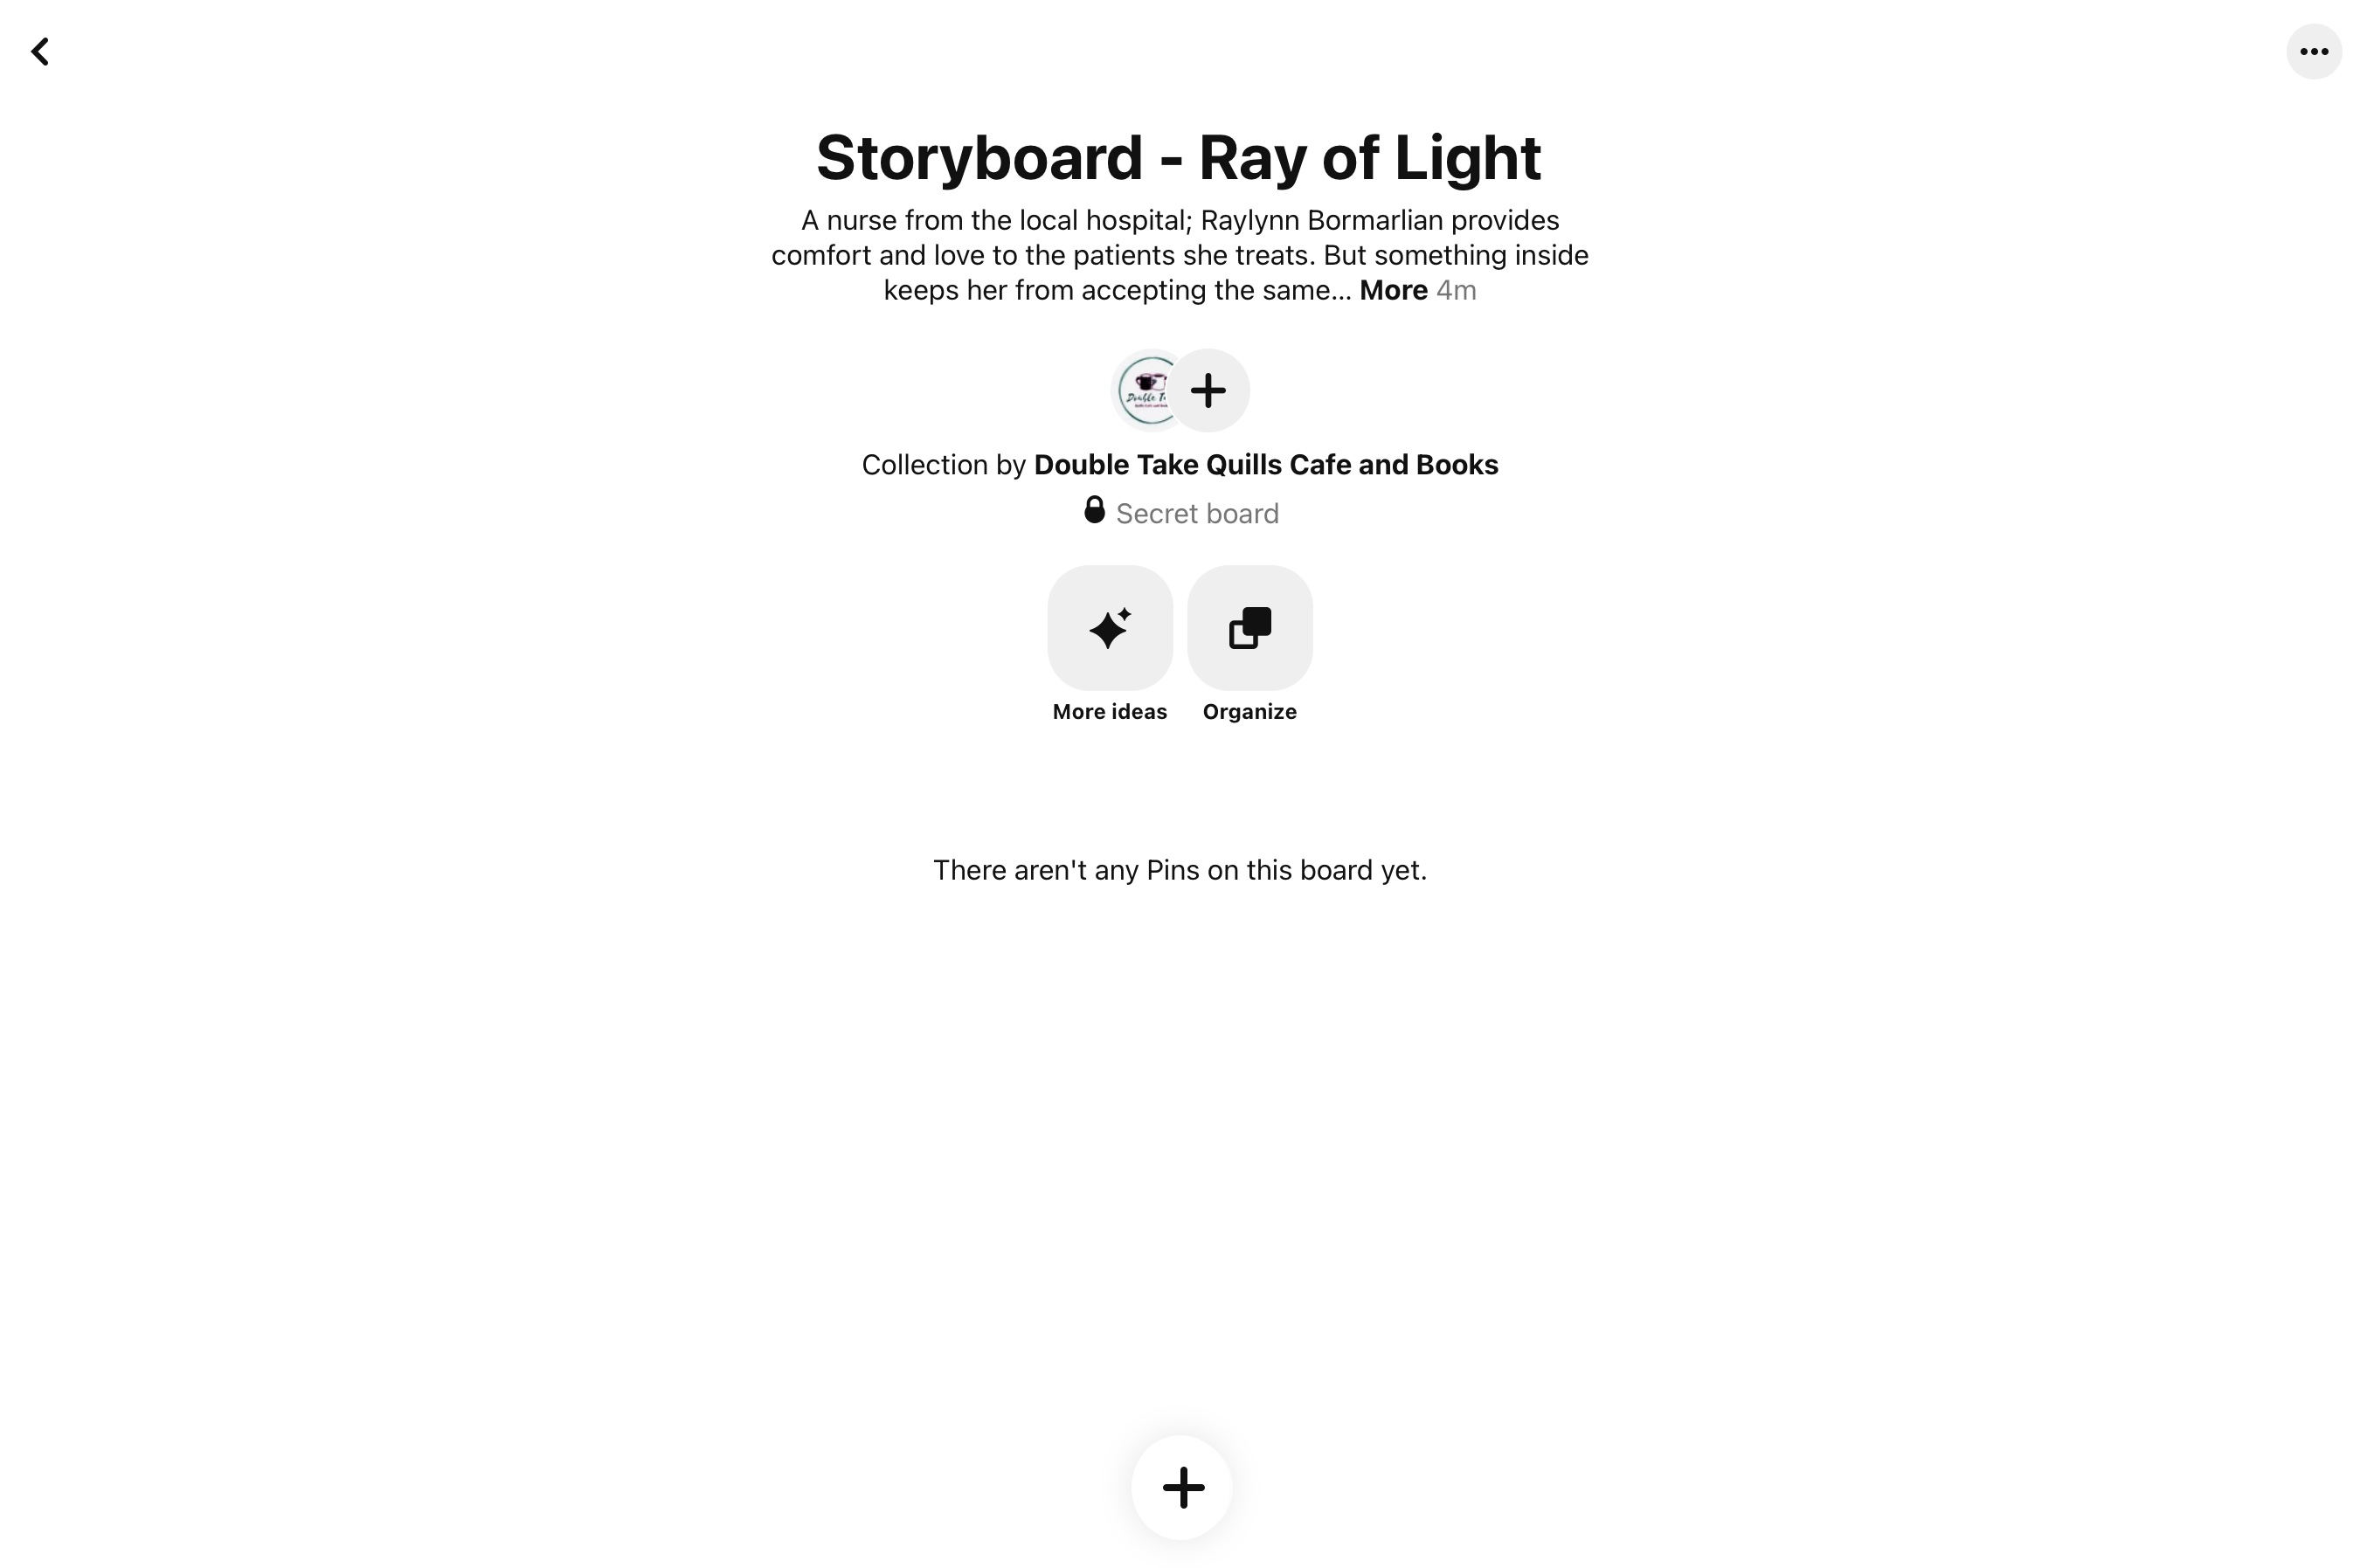
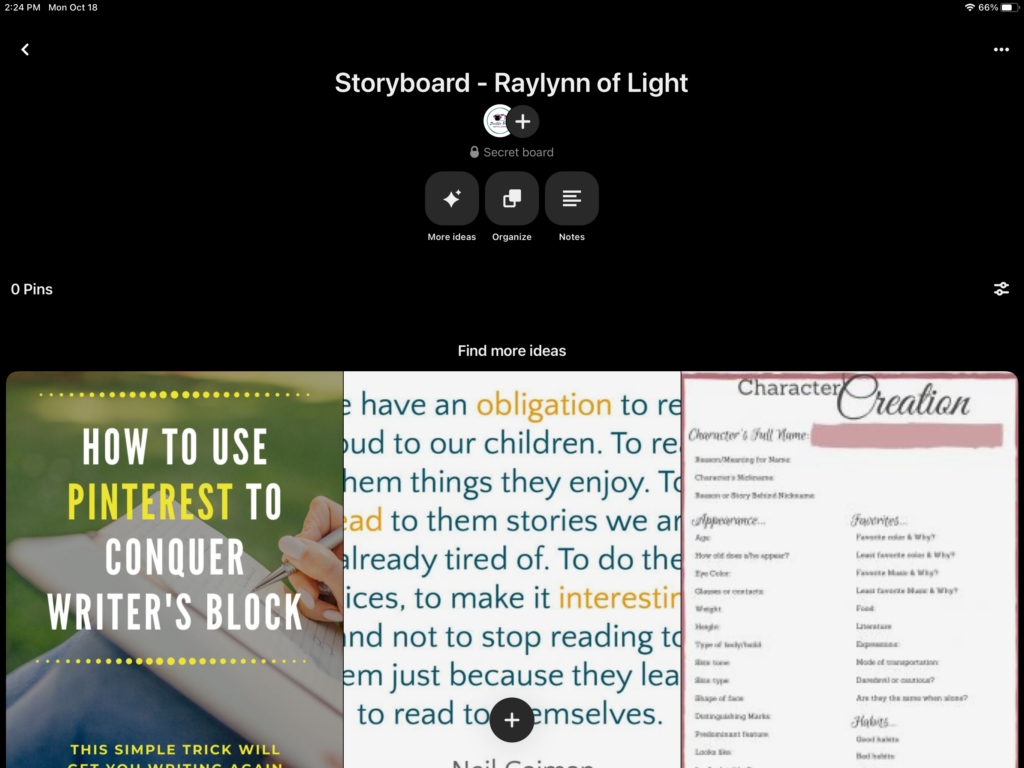
*Note
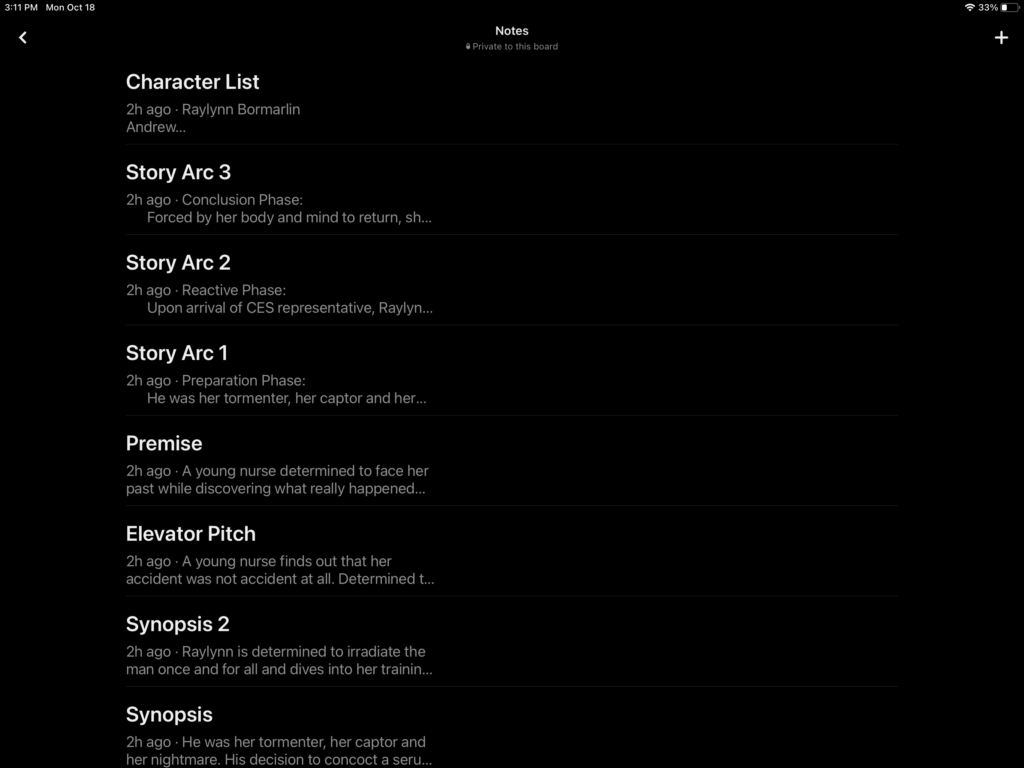
If you take a look at these images, you’ll notice there is an extra button labeled ‘notes’ on the app. Within this you can add whatever notes you wish about your story. Characters, Setting, Plot, Synopsis, General Notes, World-building, and more. Use this to your advantage for anything you want to keep with your board for easy access when returning for inspiration.
Note that there is a character limit, so you may have to create several notes to get them all down, hence the 1, 2, 3 for certain titles.
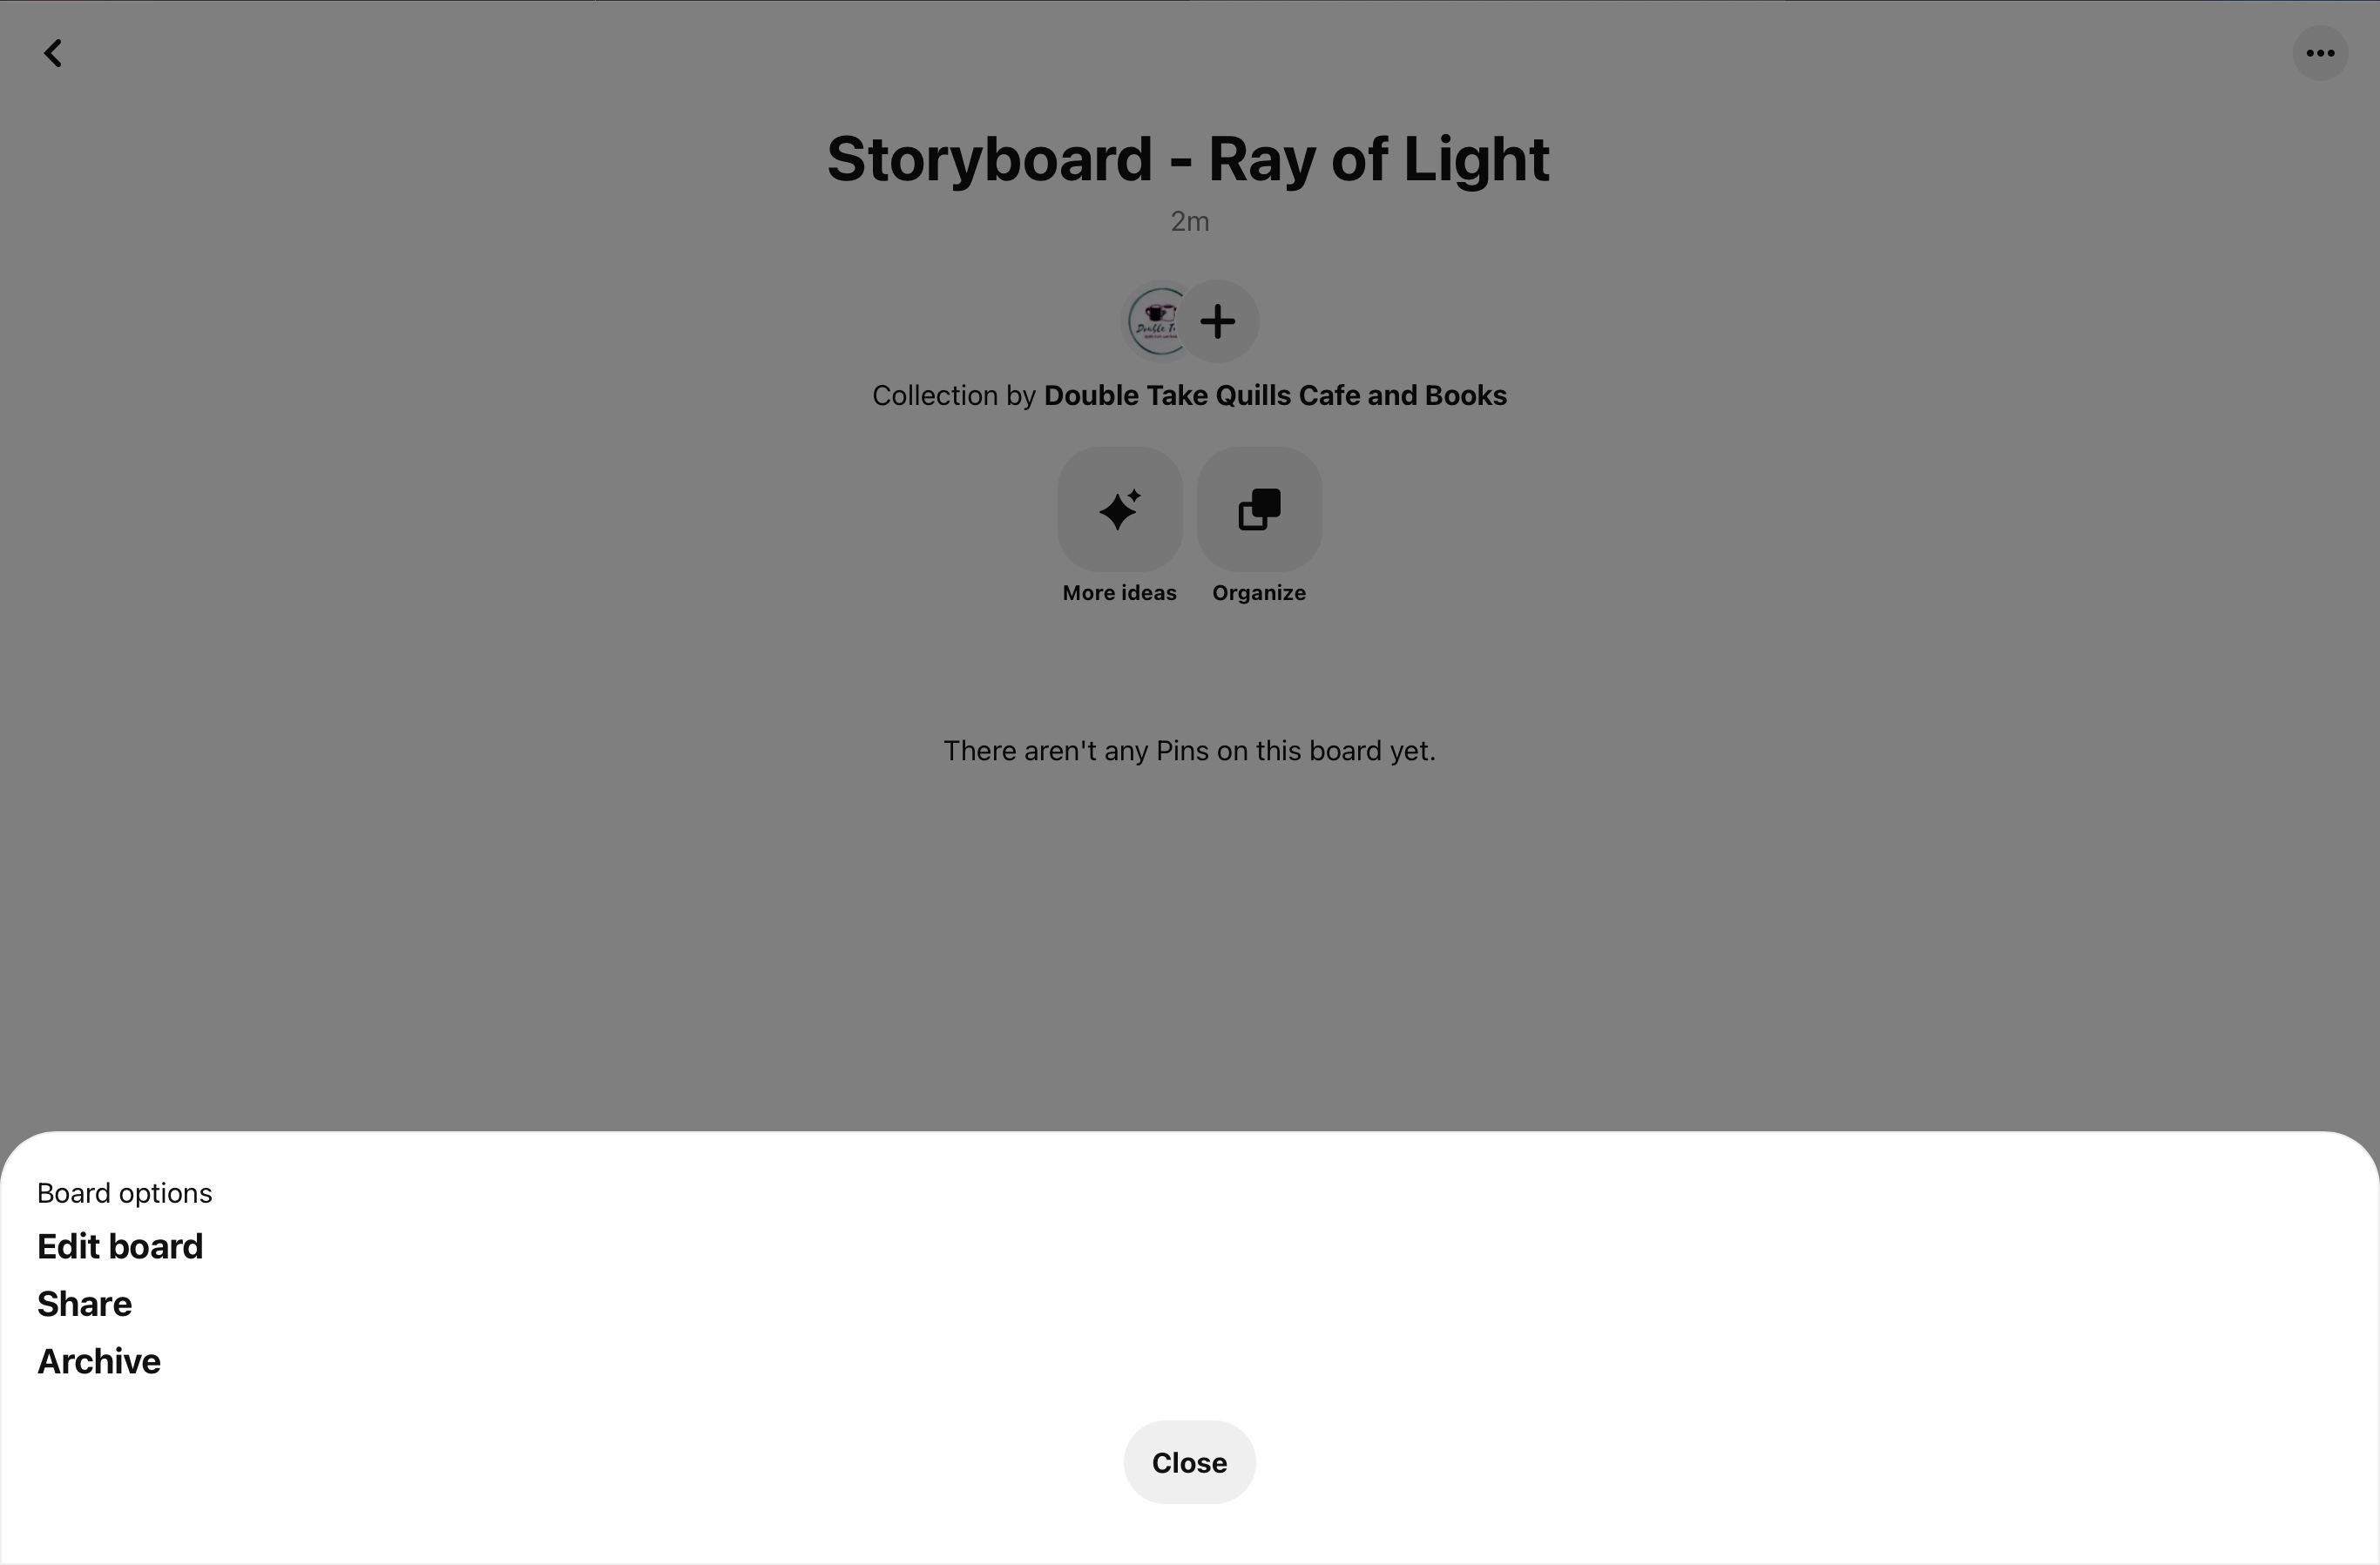
From here you will go to the top right corner, here you will find an icon with three small dots. Click that and then click on Edit Board.
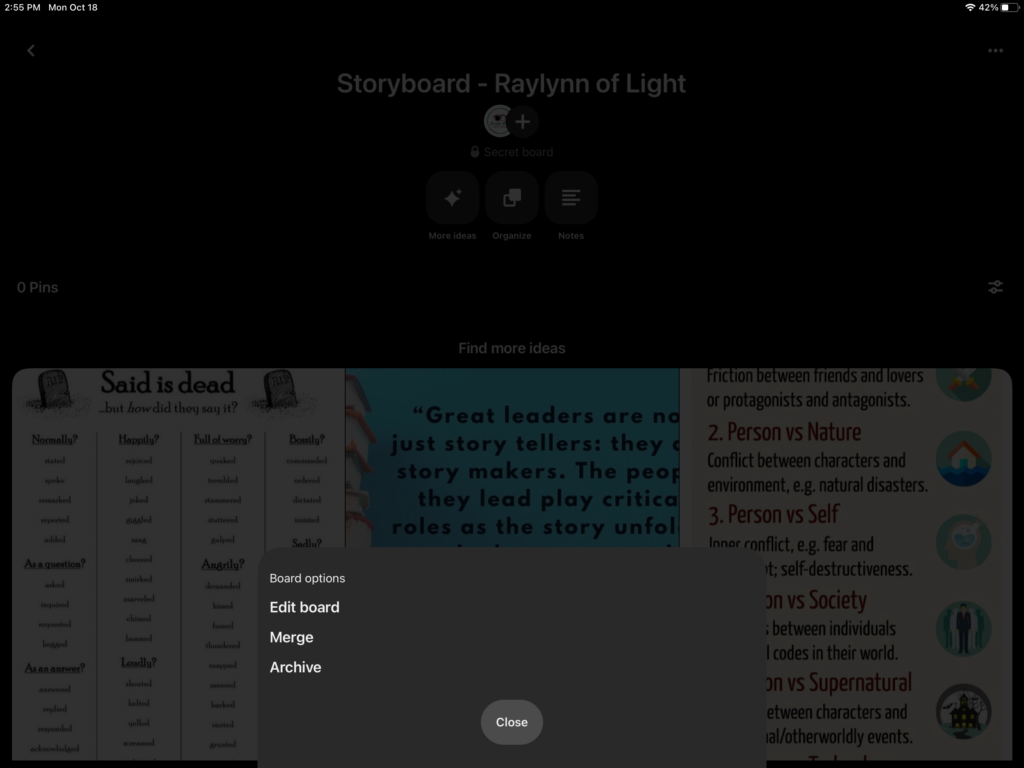
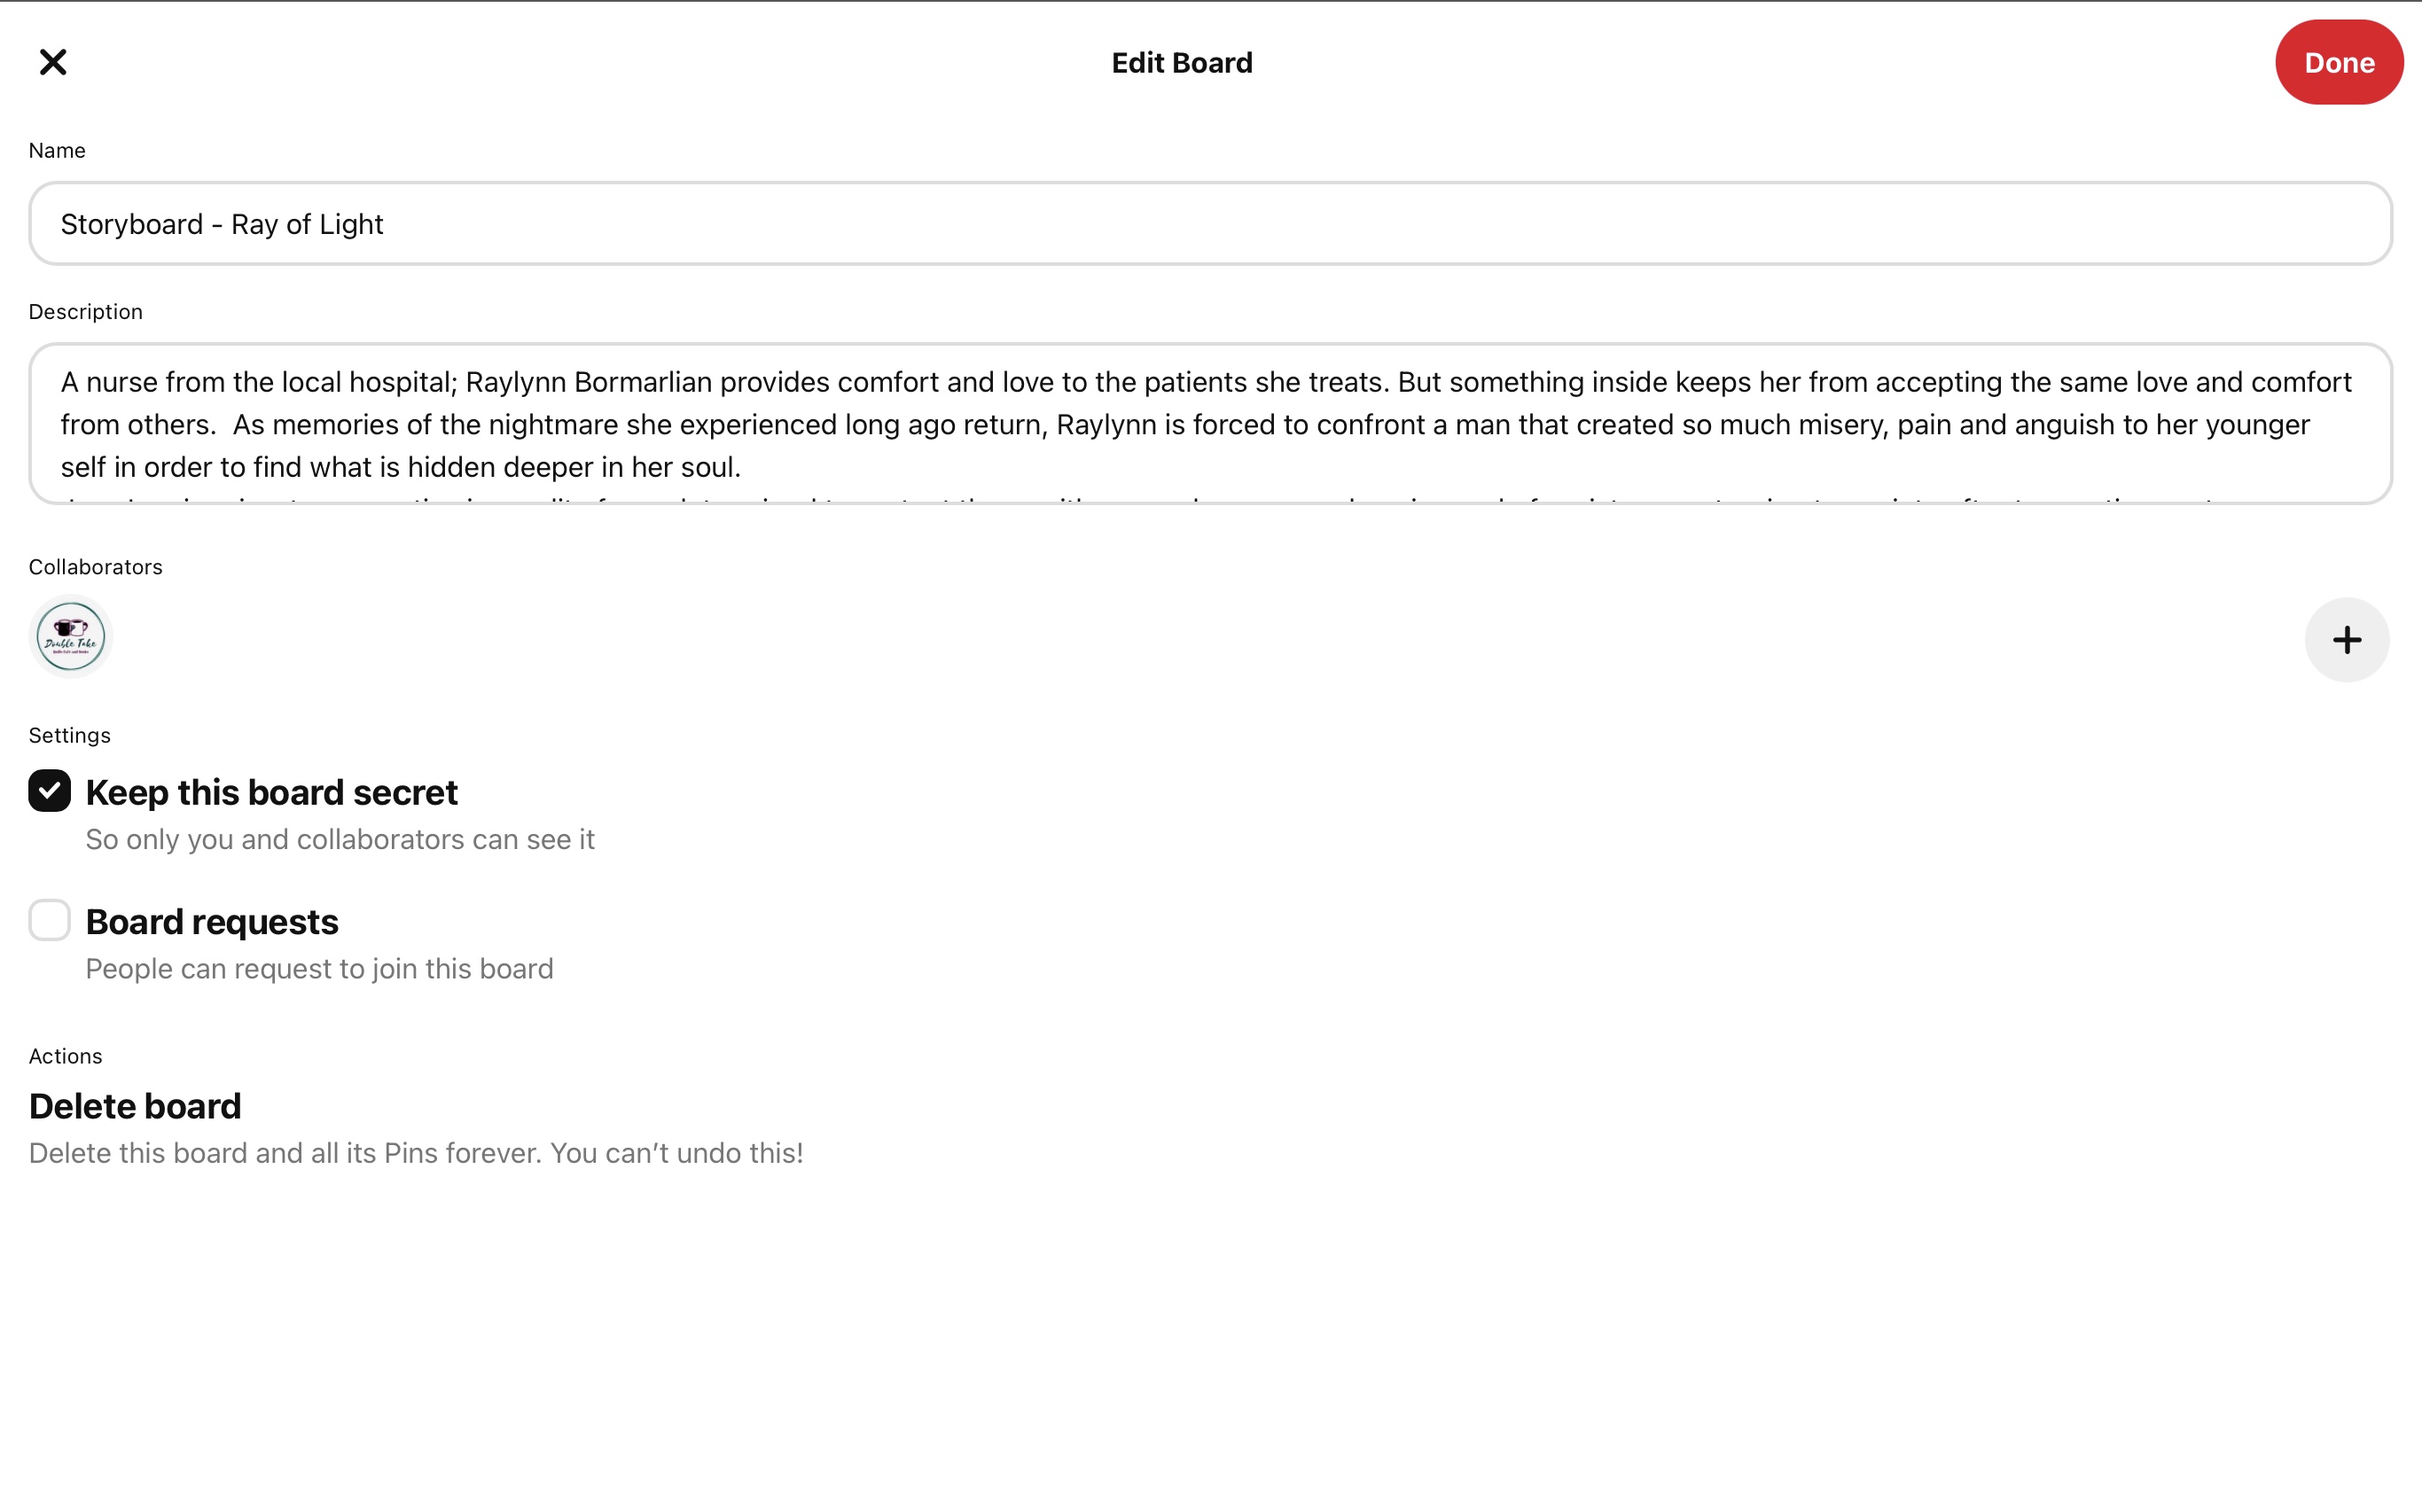
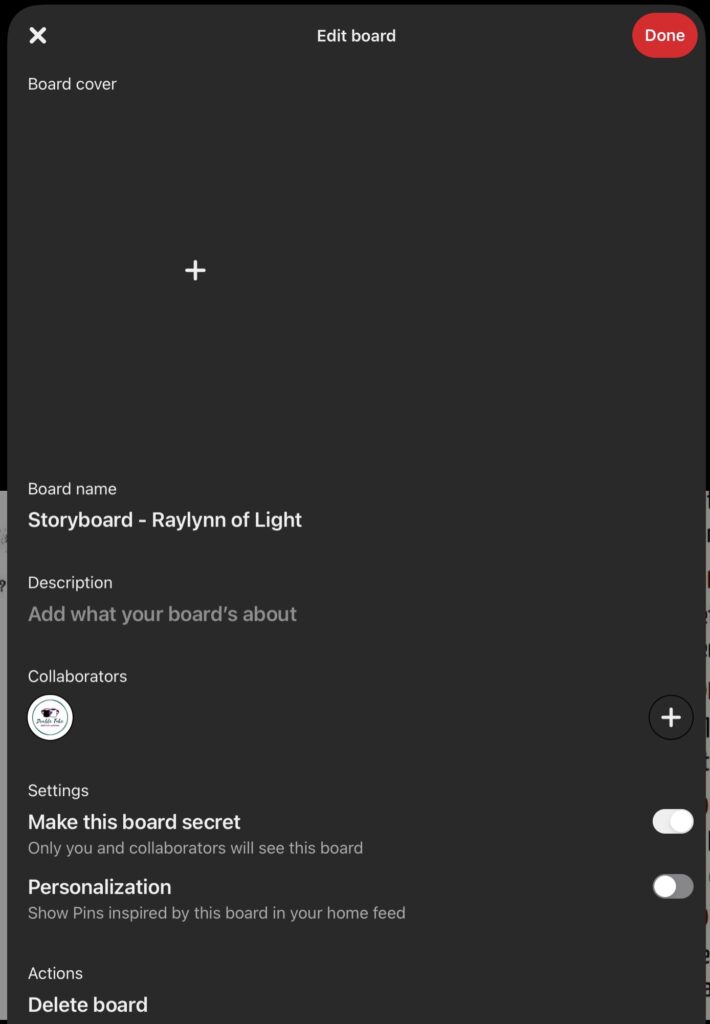
Now, here is where some differences appear between the site and the app. As you can see, you can add a cover image on the app, but not on the site. So, depending on which you are on, you can enter a board cover of your choice and a description. This description can be a summary or blurb of your novel. A way to keep the key points at the forefront, right when you get into the board.
Step Three – Add Basic or Starter Images
Now is the fun part! Looking for images that go along with your story. Here you can put any general images you want for your story or use this as a starting place because once we get some images, we are going to go a step further and a visual outline!
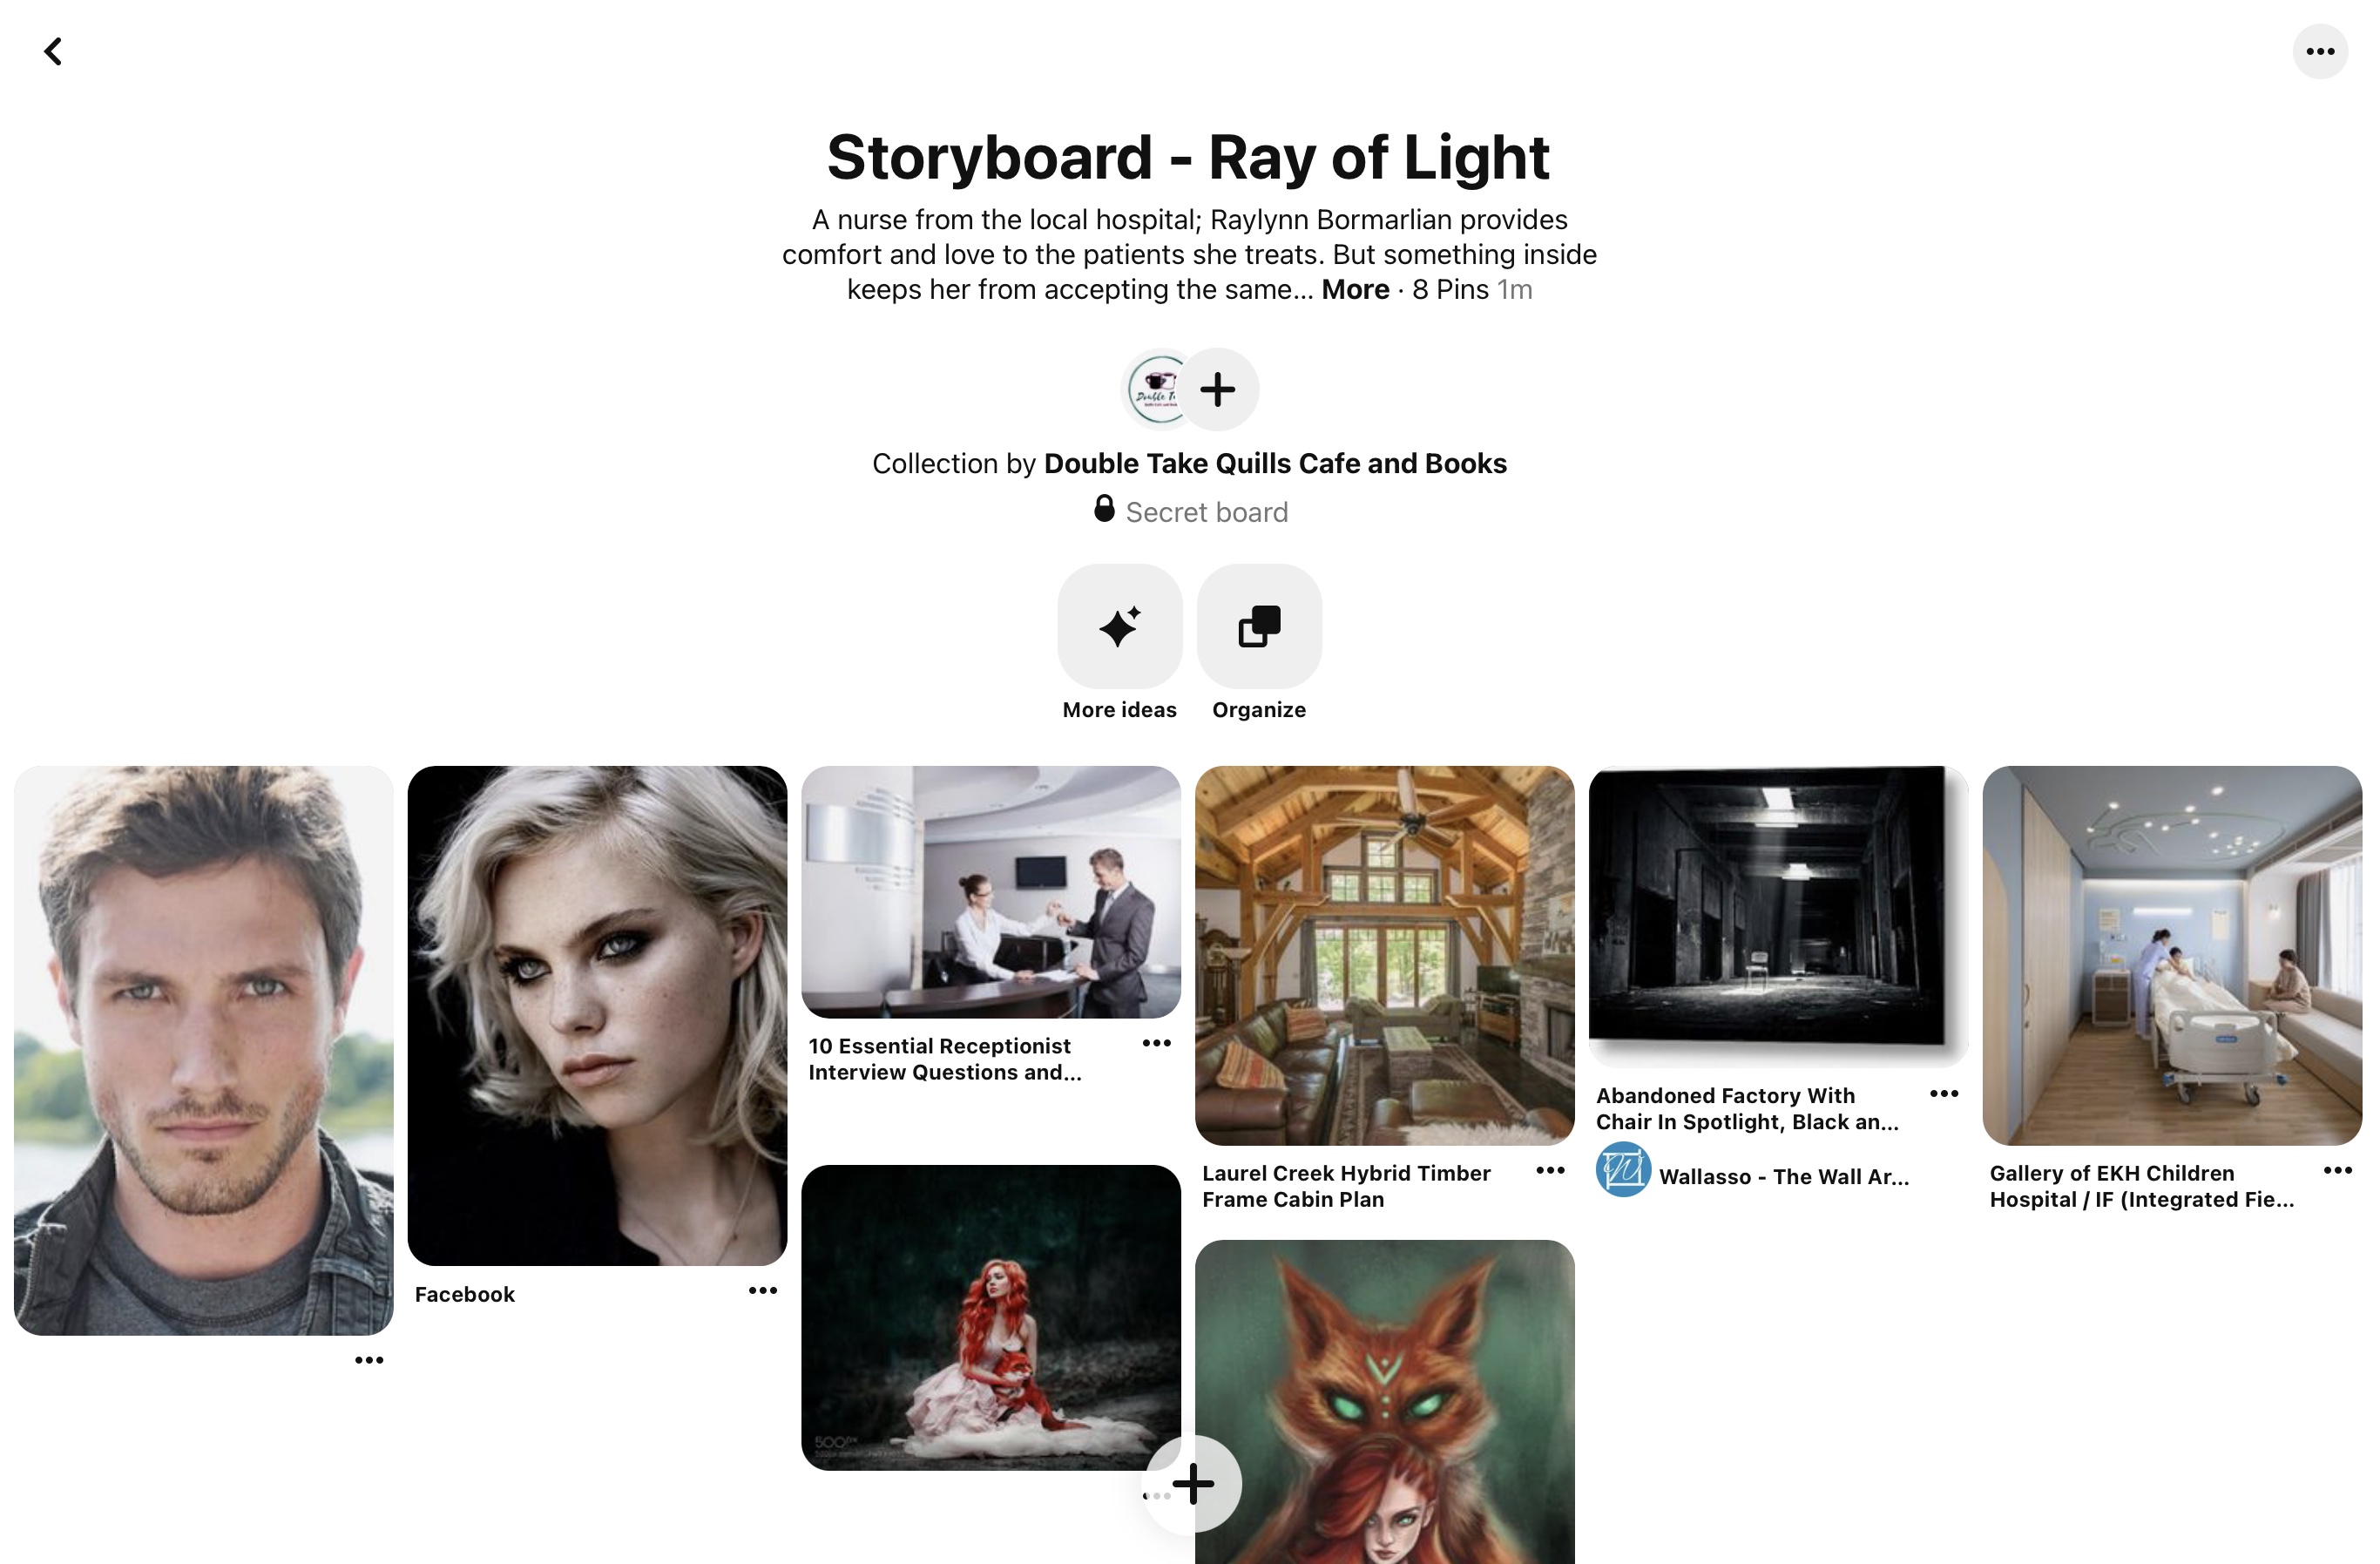
I’ve added a few for a story I’ve already written, there are character images, a hospital for the main character’s job, a cabin and business for places that are visited and images of what the main character could look like with her fox.
The Goal here is to get some images that related to the story in some way. Now let’s move on to step four as we get a little more detailed and see where we can take this.
Add titles and descriptions to your uploaded images and add a note from the app when editing a pin. Unfortunately, there is no way to add an original description unless you downloaded each image and reposted them by uploading each, which is totally doable and worth it if you have the time. (Remember to keep the links and sites so the original poster still gets credit). It might be a good idea to keep your board secret then so others don’t believe you are the original owner of the images.
Step Four – Create Sections
Here we will get into a bit more detail as we create sections within this board for chapters or scenes. You can either create one section per chapter or one section per scene. The choice is yours as to how you want to organize your information here.
In the the board, click the plus sign at the bottom center of the screen to add an item, once’s there you’ll click the section button:
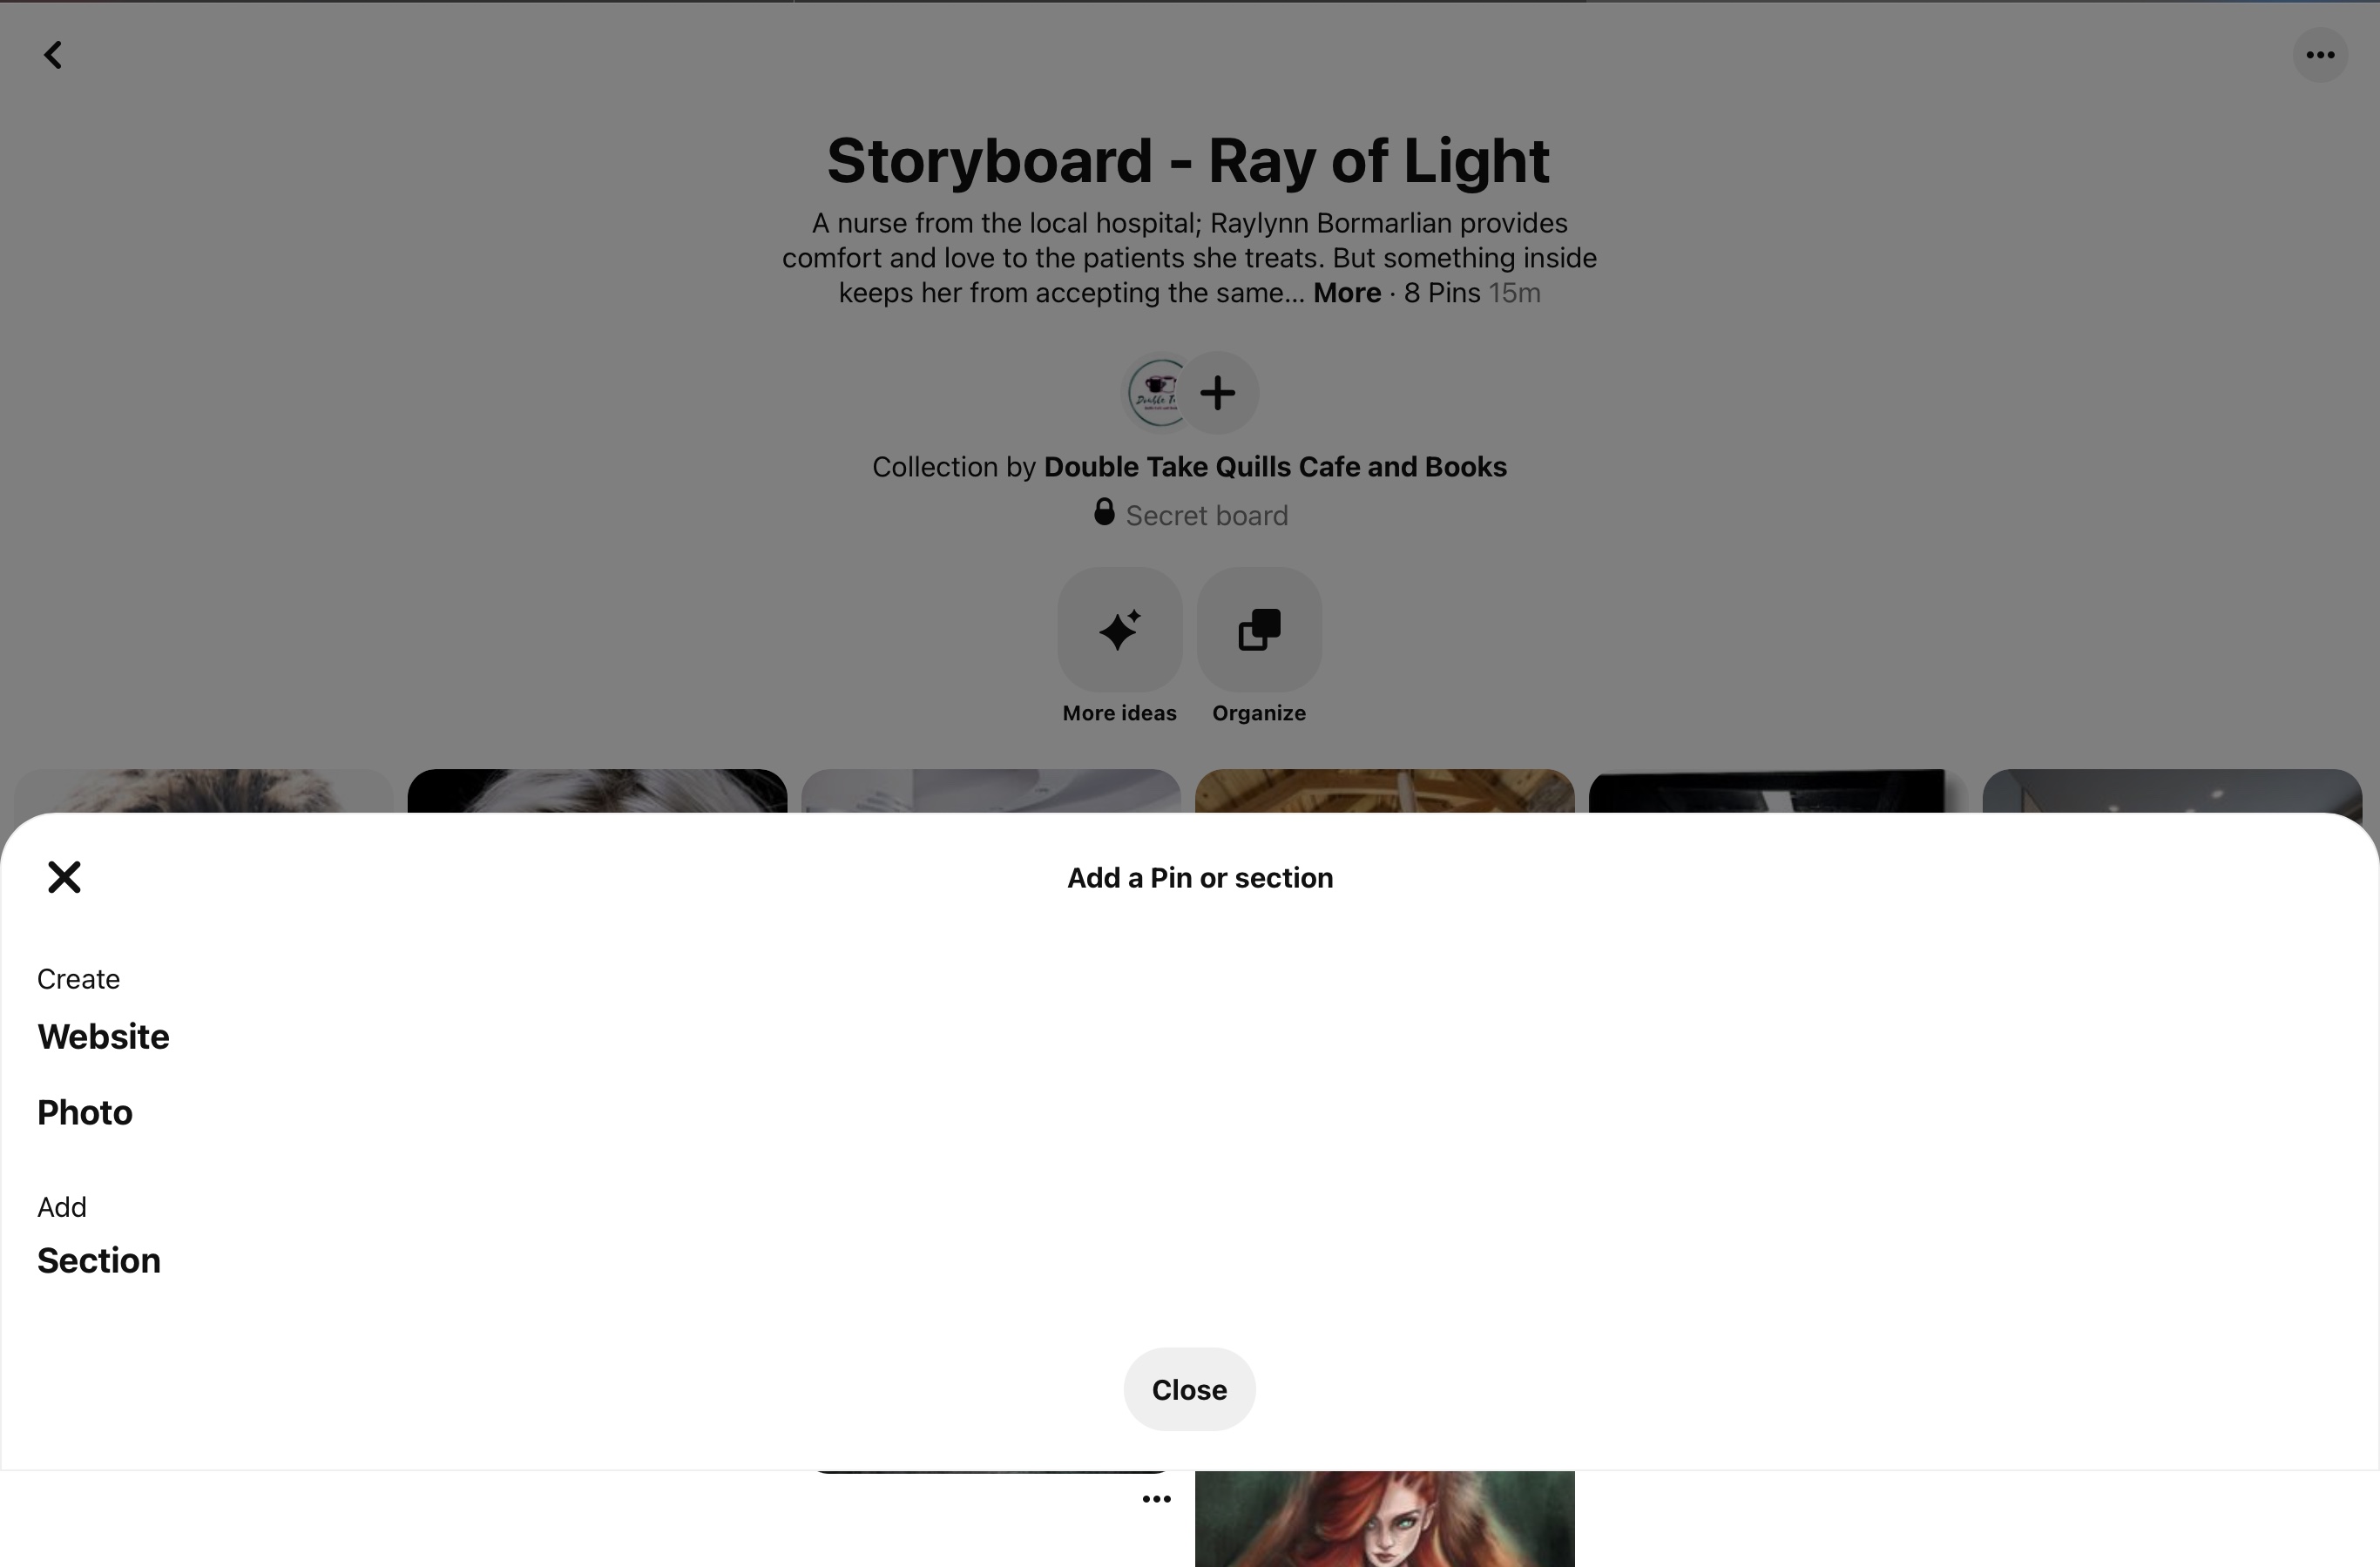
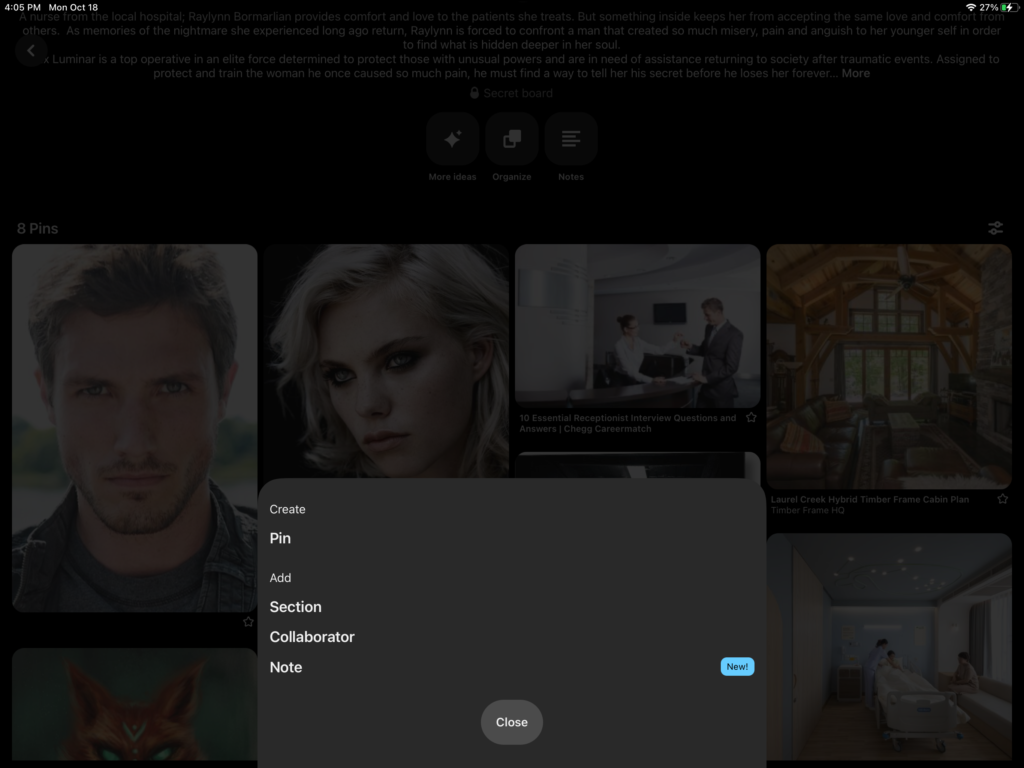
From here, enter a title for the section and press next, this will take you to the section part of the board where you can click the plus button at the bottom to add your own images. On the app, it gives you a list of the images you have from the original board in case you want to move images from there to this section.
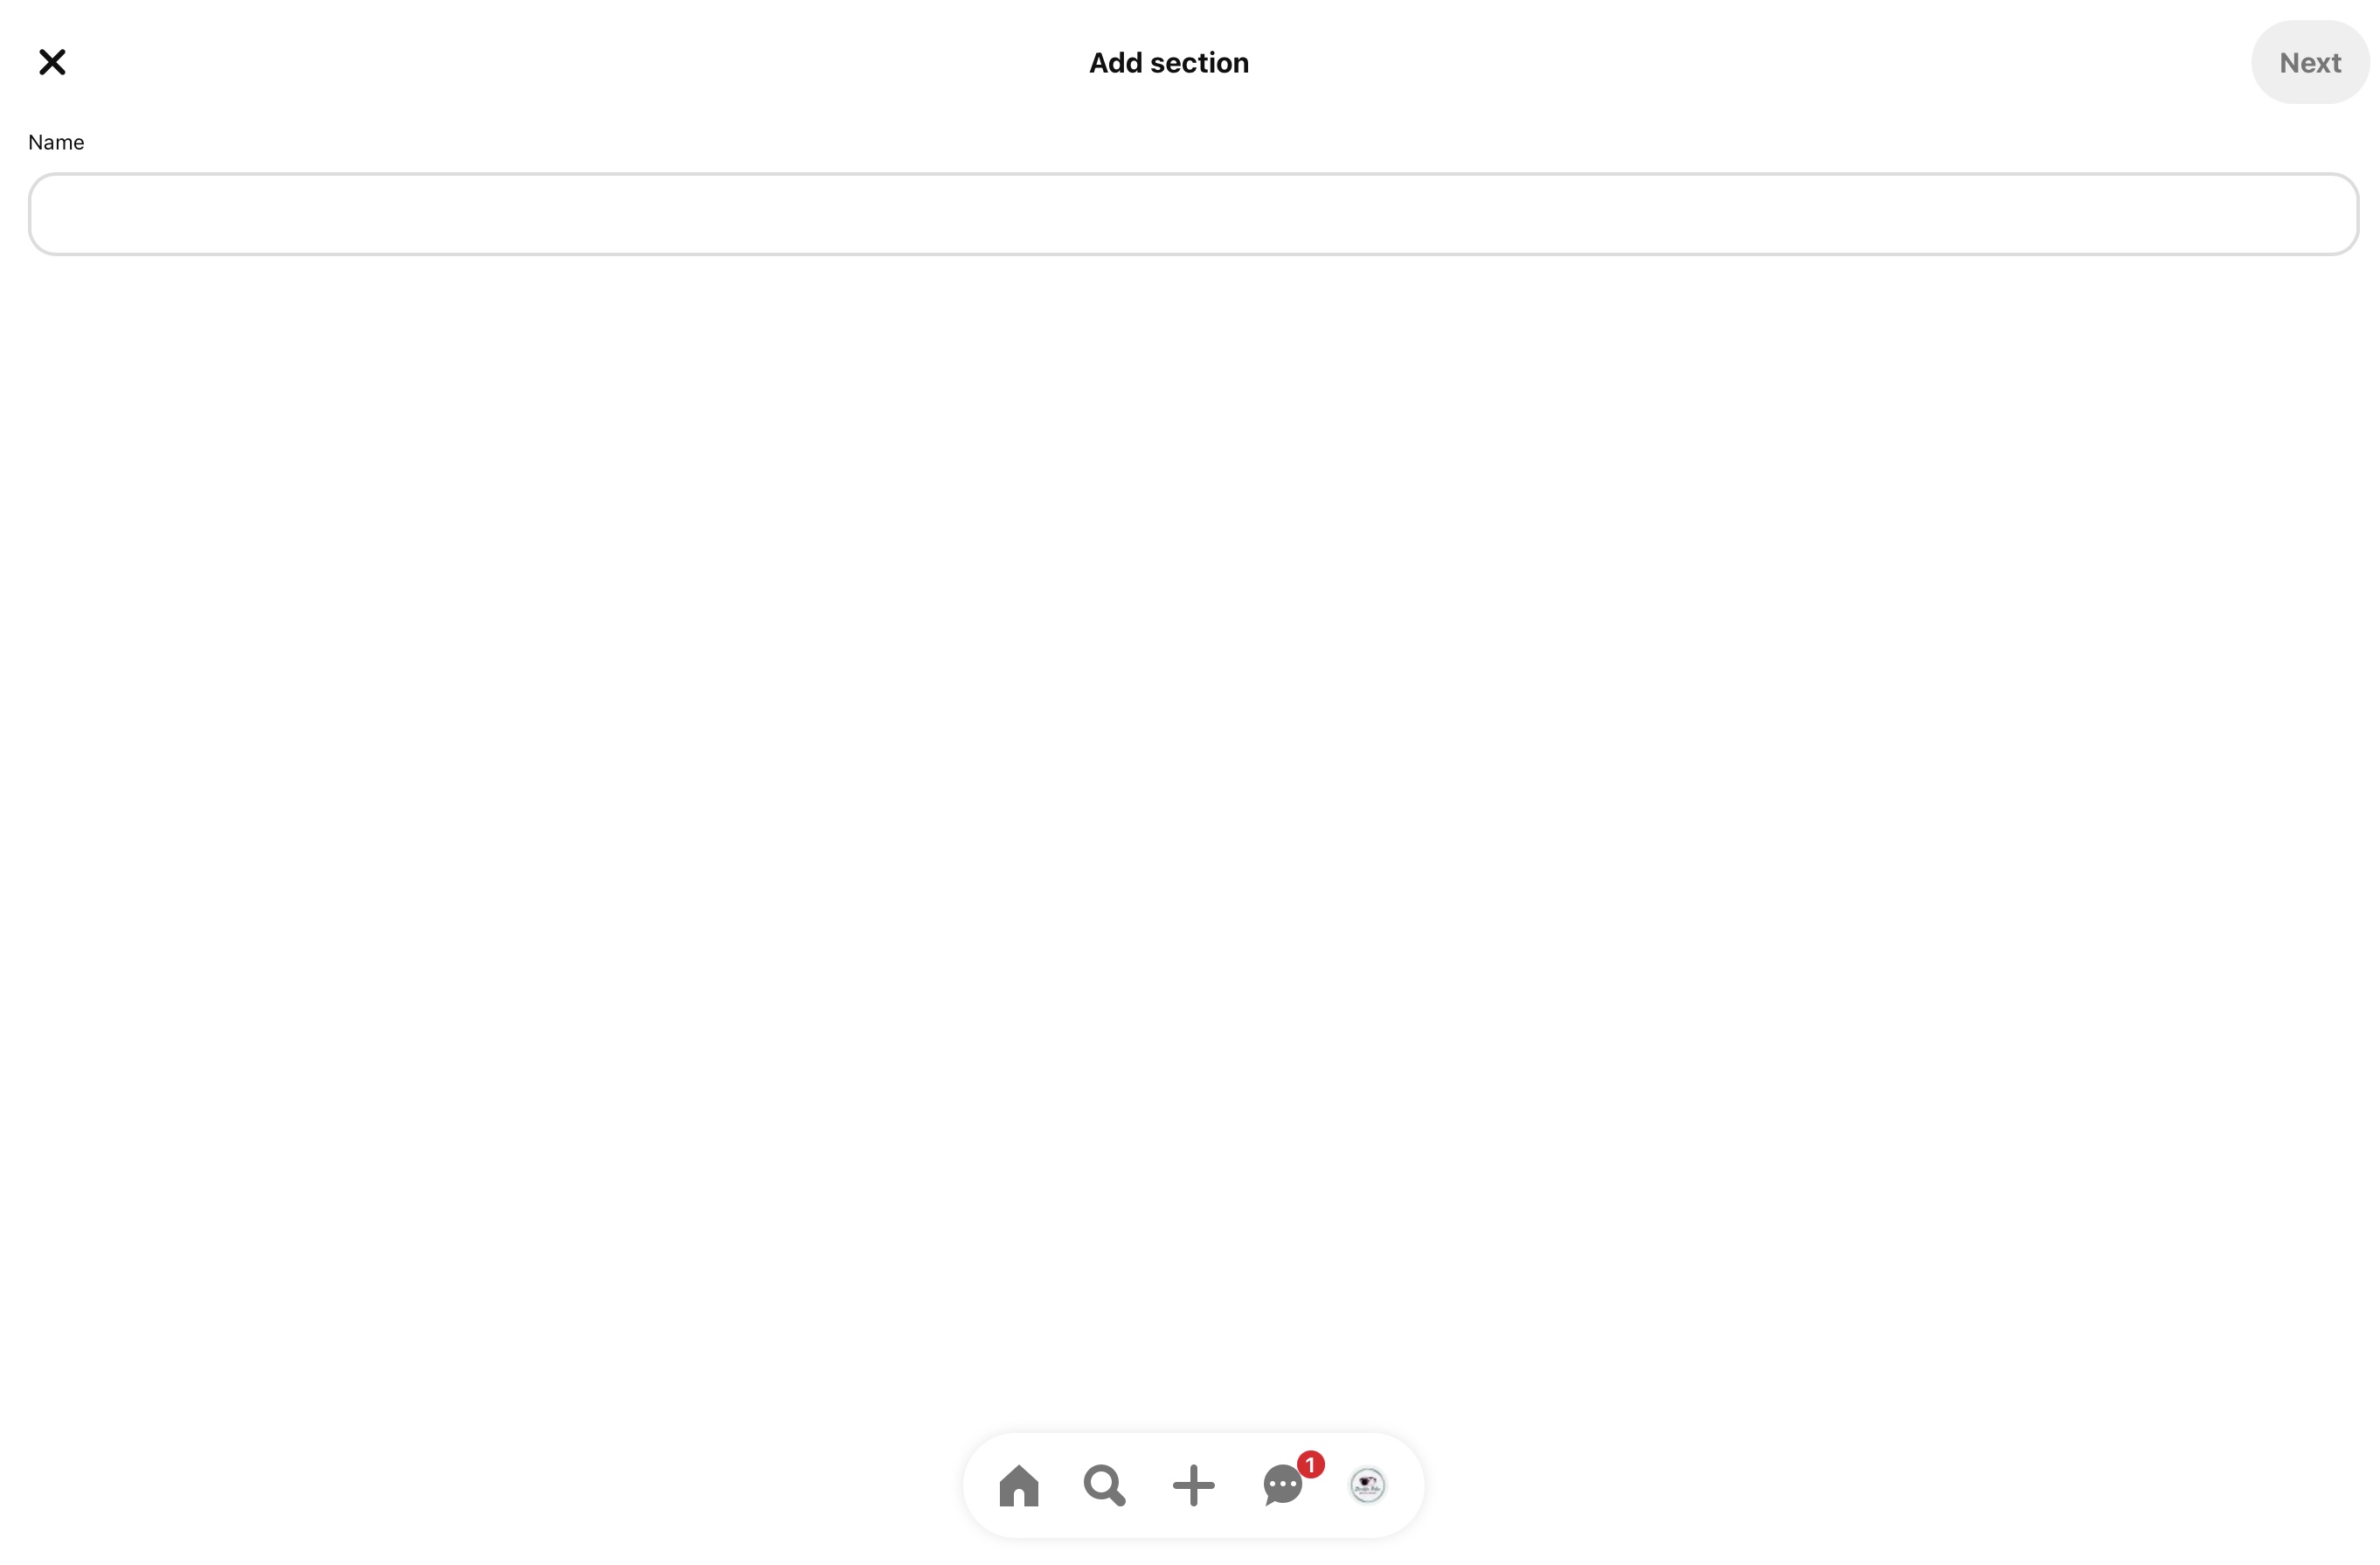
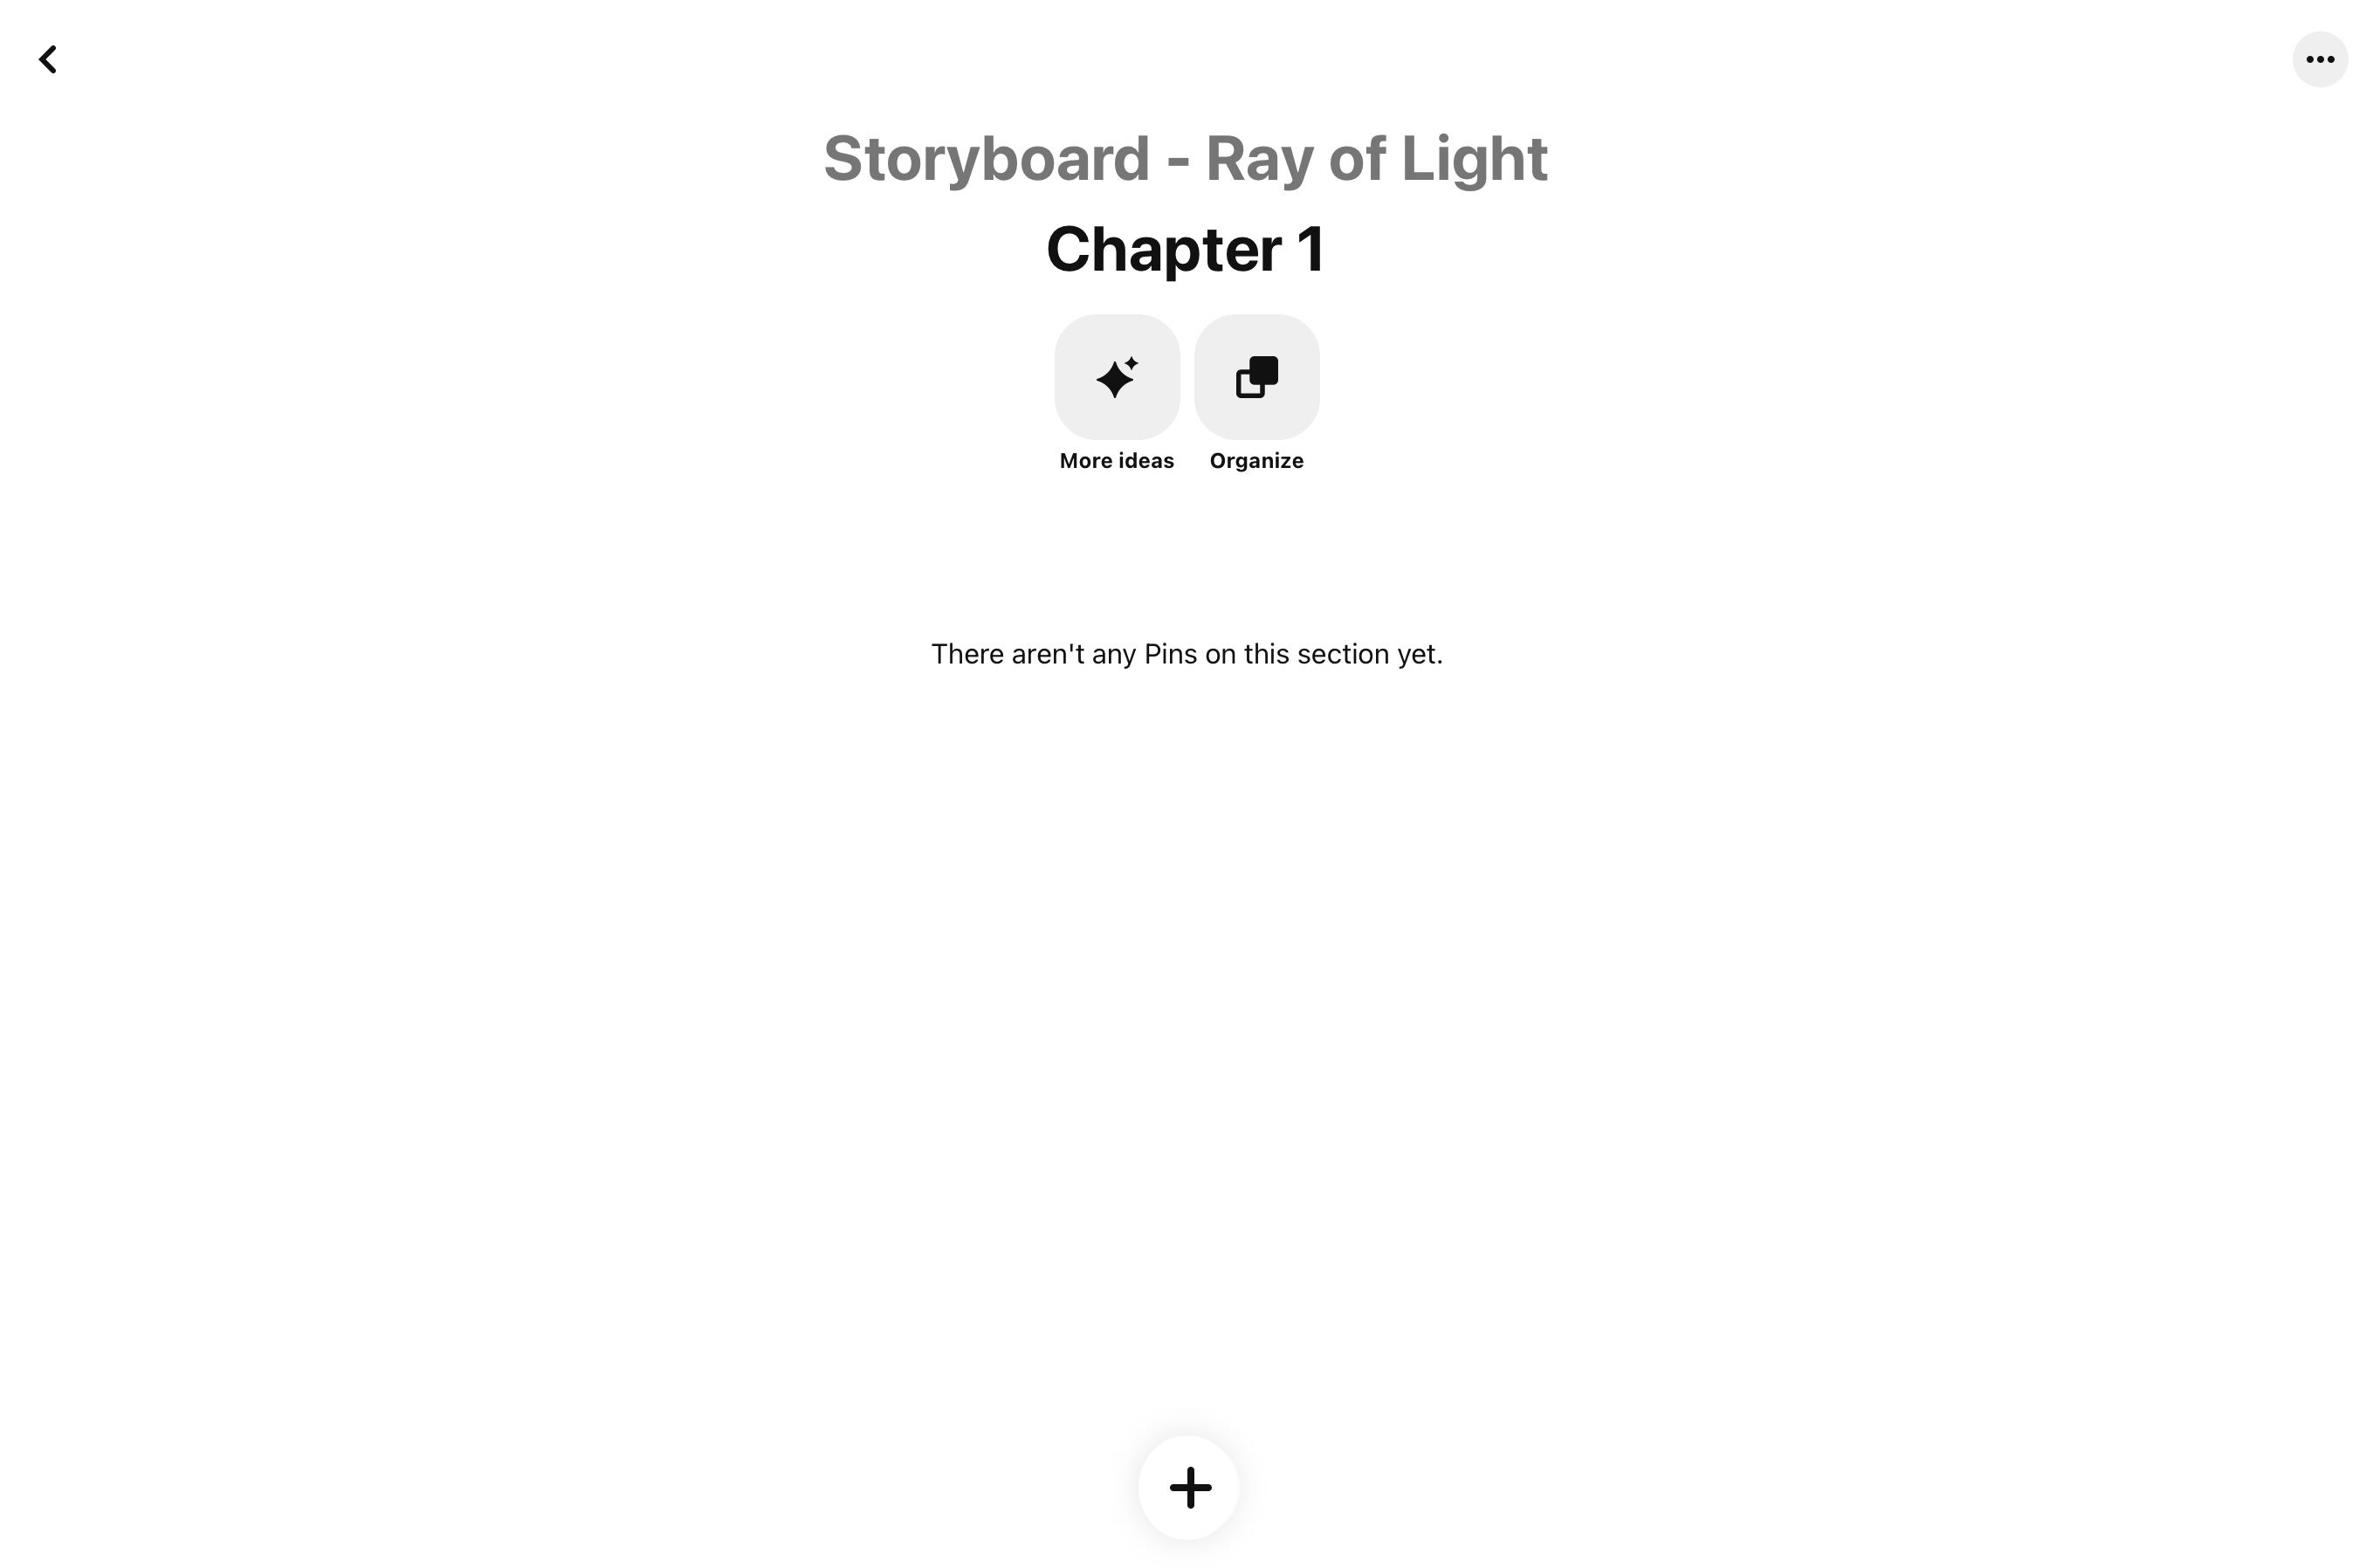
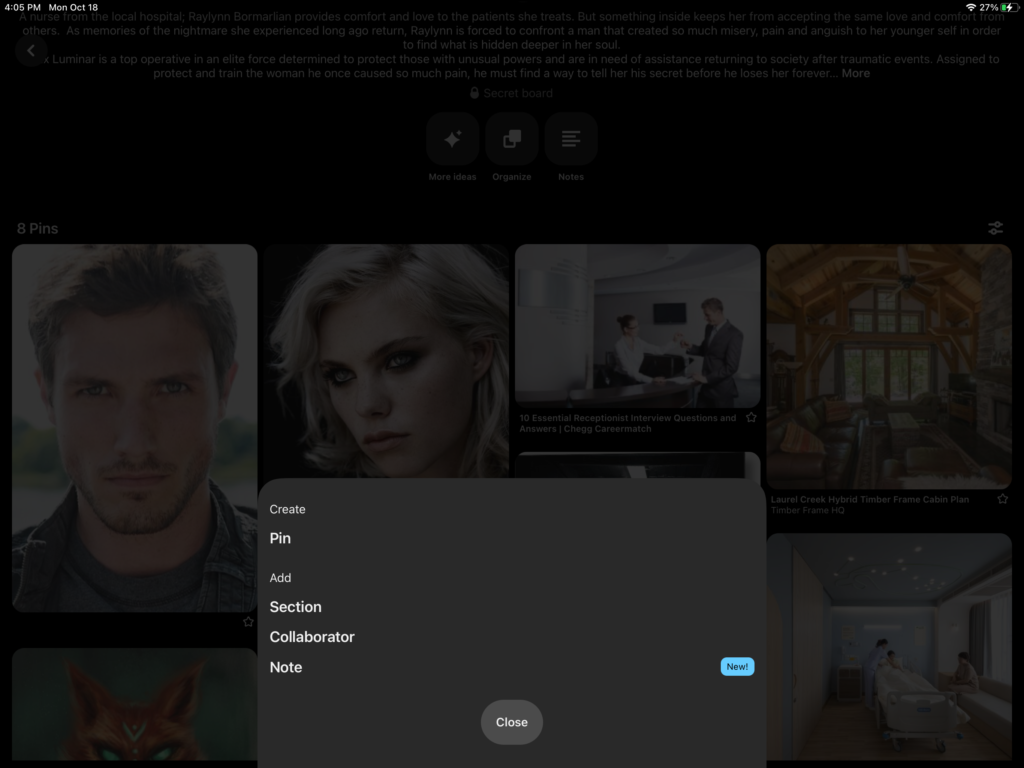
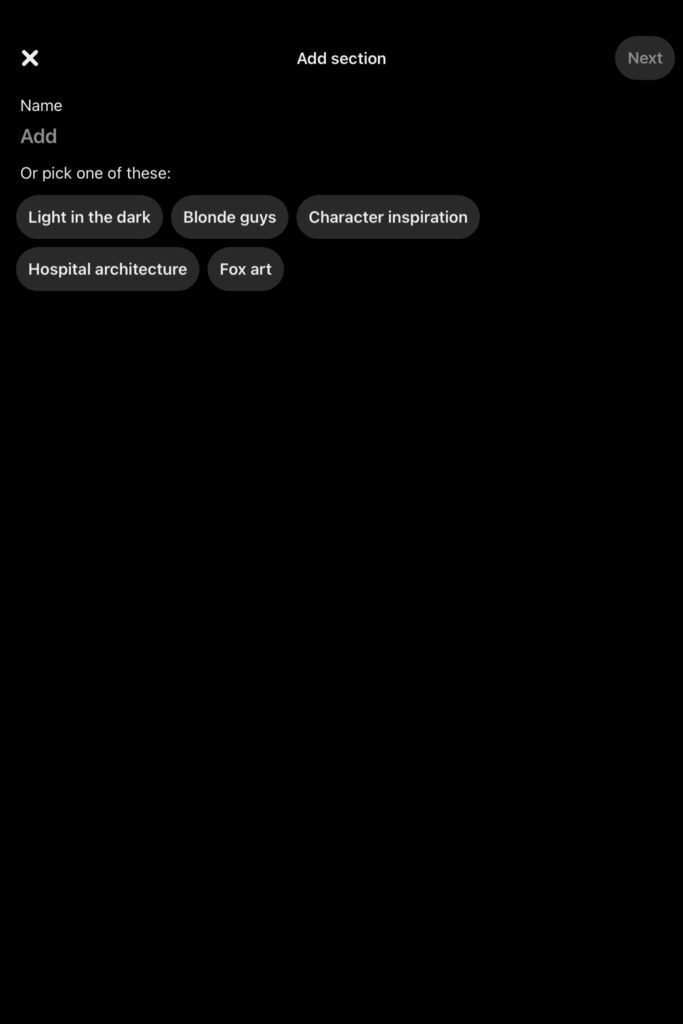
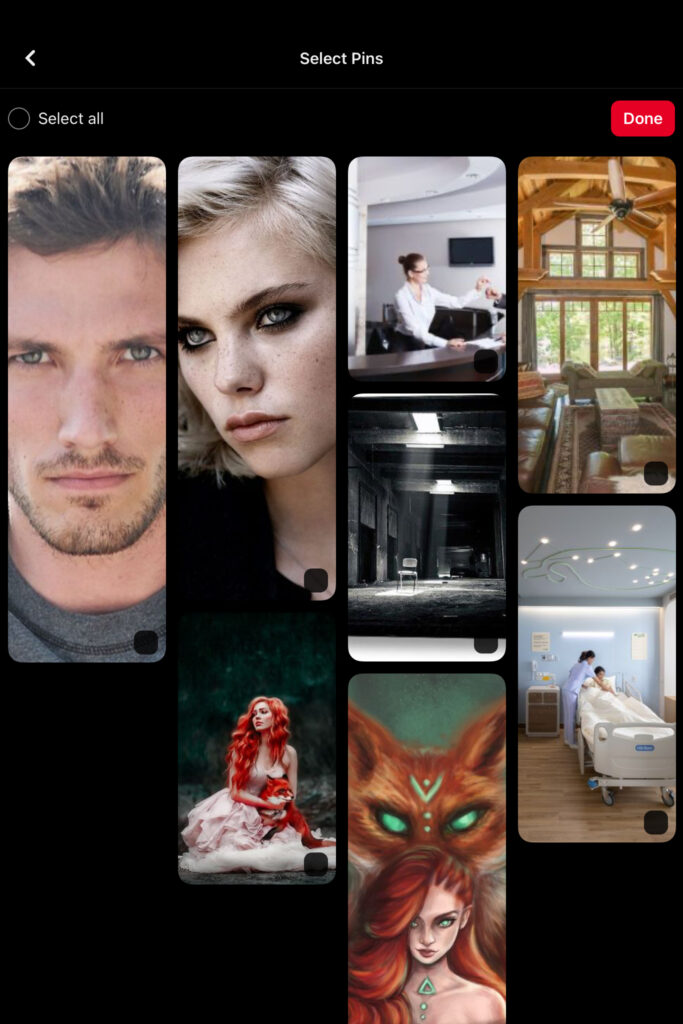
Continue adding sections for each chapter or scene until you have all you need. Adding images to each for the plot points (and any other pertinent information) within each.
If you go to the three dots at the upper right corner of each section you can edit the sections and from there you can arrange the images in any particular order you wish to suit your novel.
Other Ways to Use Pinterest for Your Novel
There are plenty of ways to use Pinterest to assist in creating your storyboard. Creating boards for different aspects of story writing will keep even more information in one place for reference later. Things like:
- Character Inspiration (You can even do sections here for male and female, etc)
- Settings
- World-building
- Flora and Fauna
- Creatures
- Weapons
- and more.
- Specific Characters (with sections for interests, flaws, wardrobe, occupation, and more.
Final Thoughts
There are so many ways to use Pinterest as a writer. How do you use Pinterest in your writing endeavors? Comment and let me know. Let’s help each other better our writing journey!


